new pulp
This is where we post all things new going on in pulpland. We’ll be updating often so stay tuned or sign up for our newsletter below to receive the occasional update. Everything we post on our new pulp page usually ends up in our pulp pages section (see above) so feel free to jump in there and have a look!
The 1800 Project
Yes, it has been awhile since we mentioned the 1800 Project, however, we’ve recently completed the part 2 trailer for the feature length and down the road video for the complete project. Ladies and Gentlemen, I present to you, The 1800 Project Part Deux (the finish). Enjoy!
This Week’s Featured Pulp Improvement
Pulp Deck
Pulp Deck
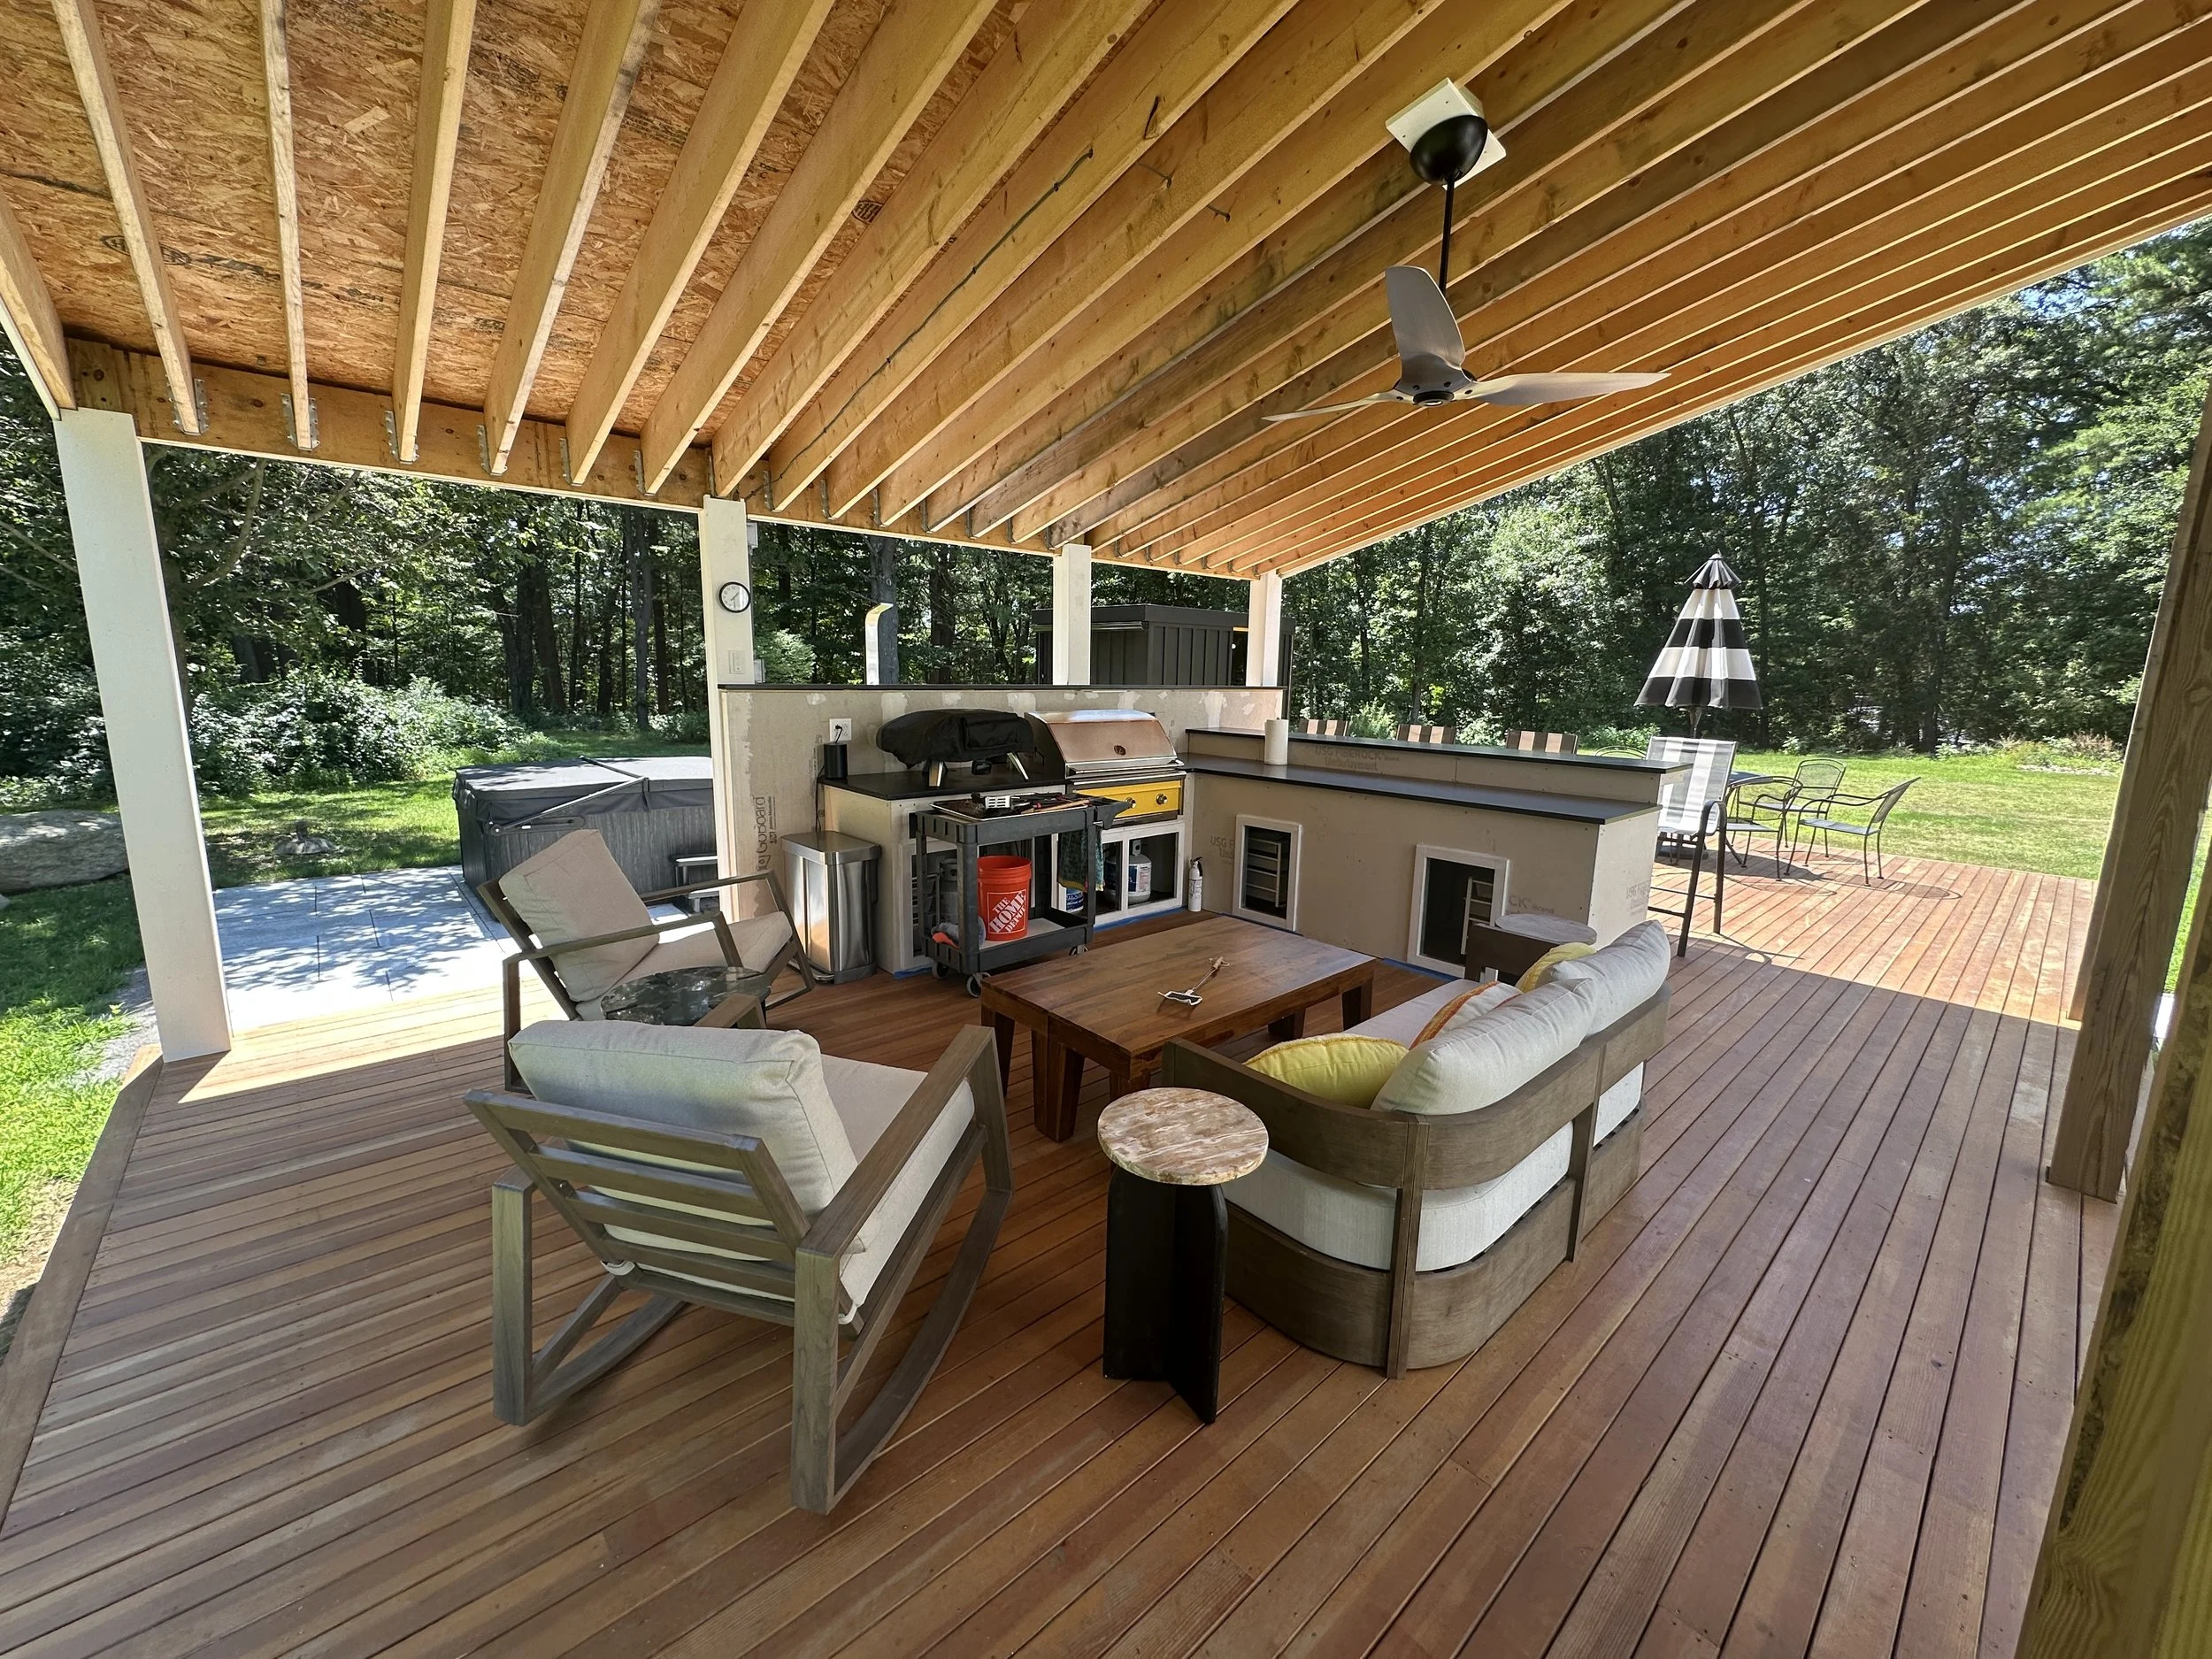
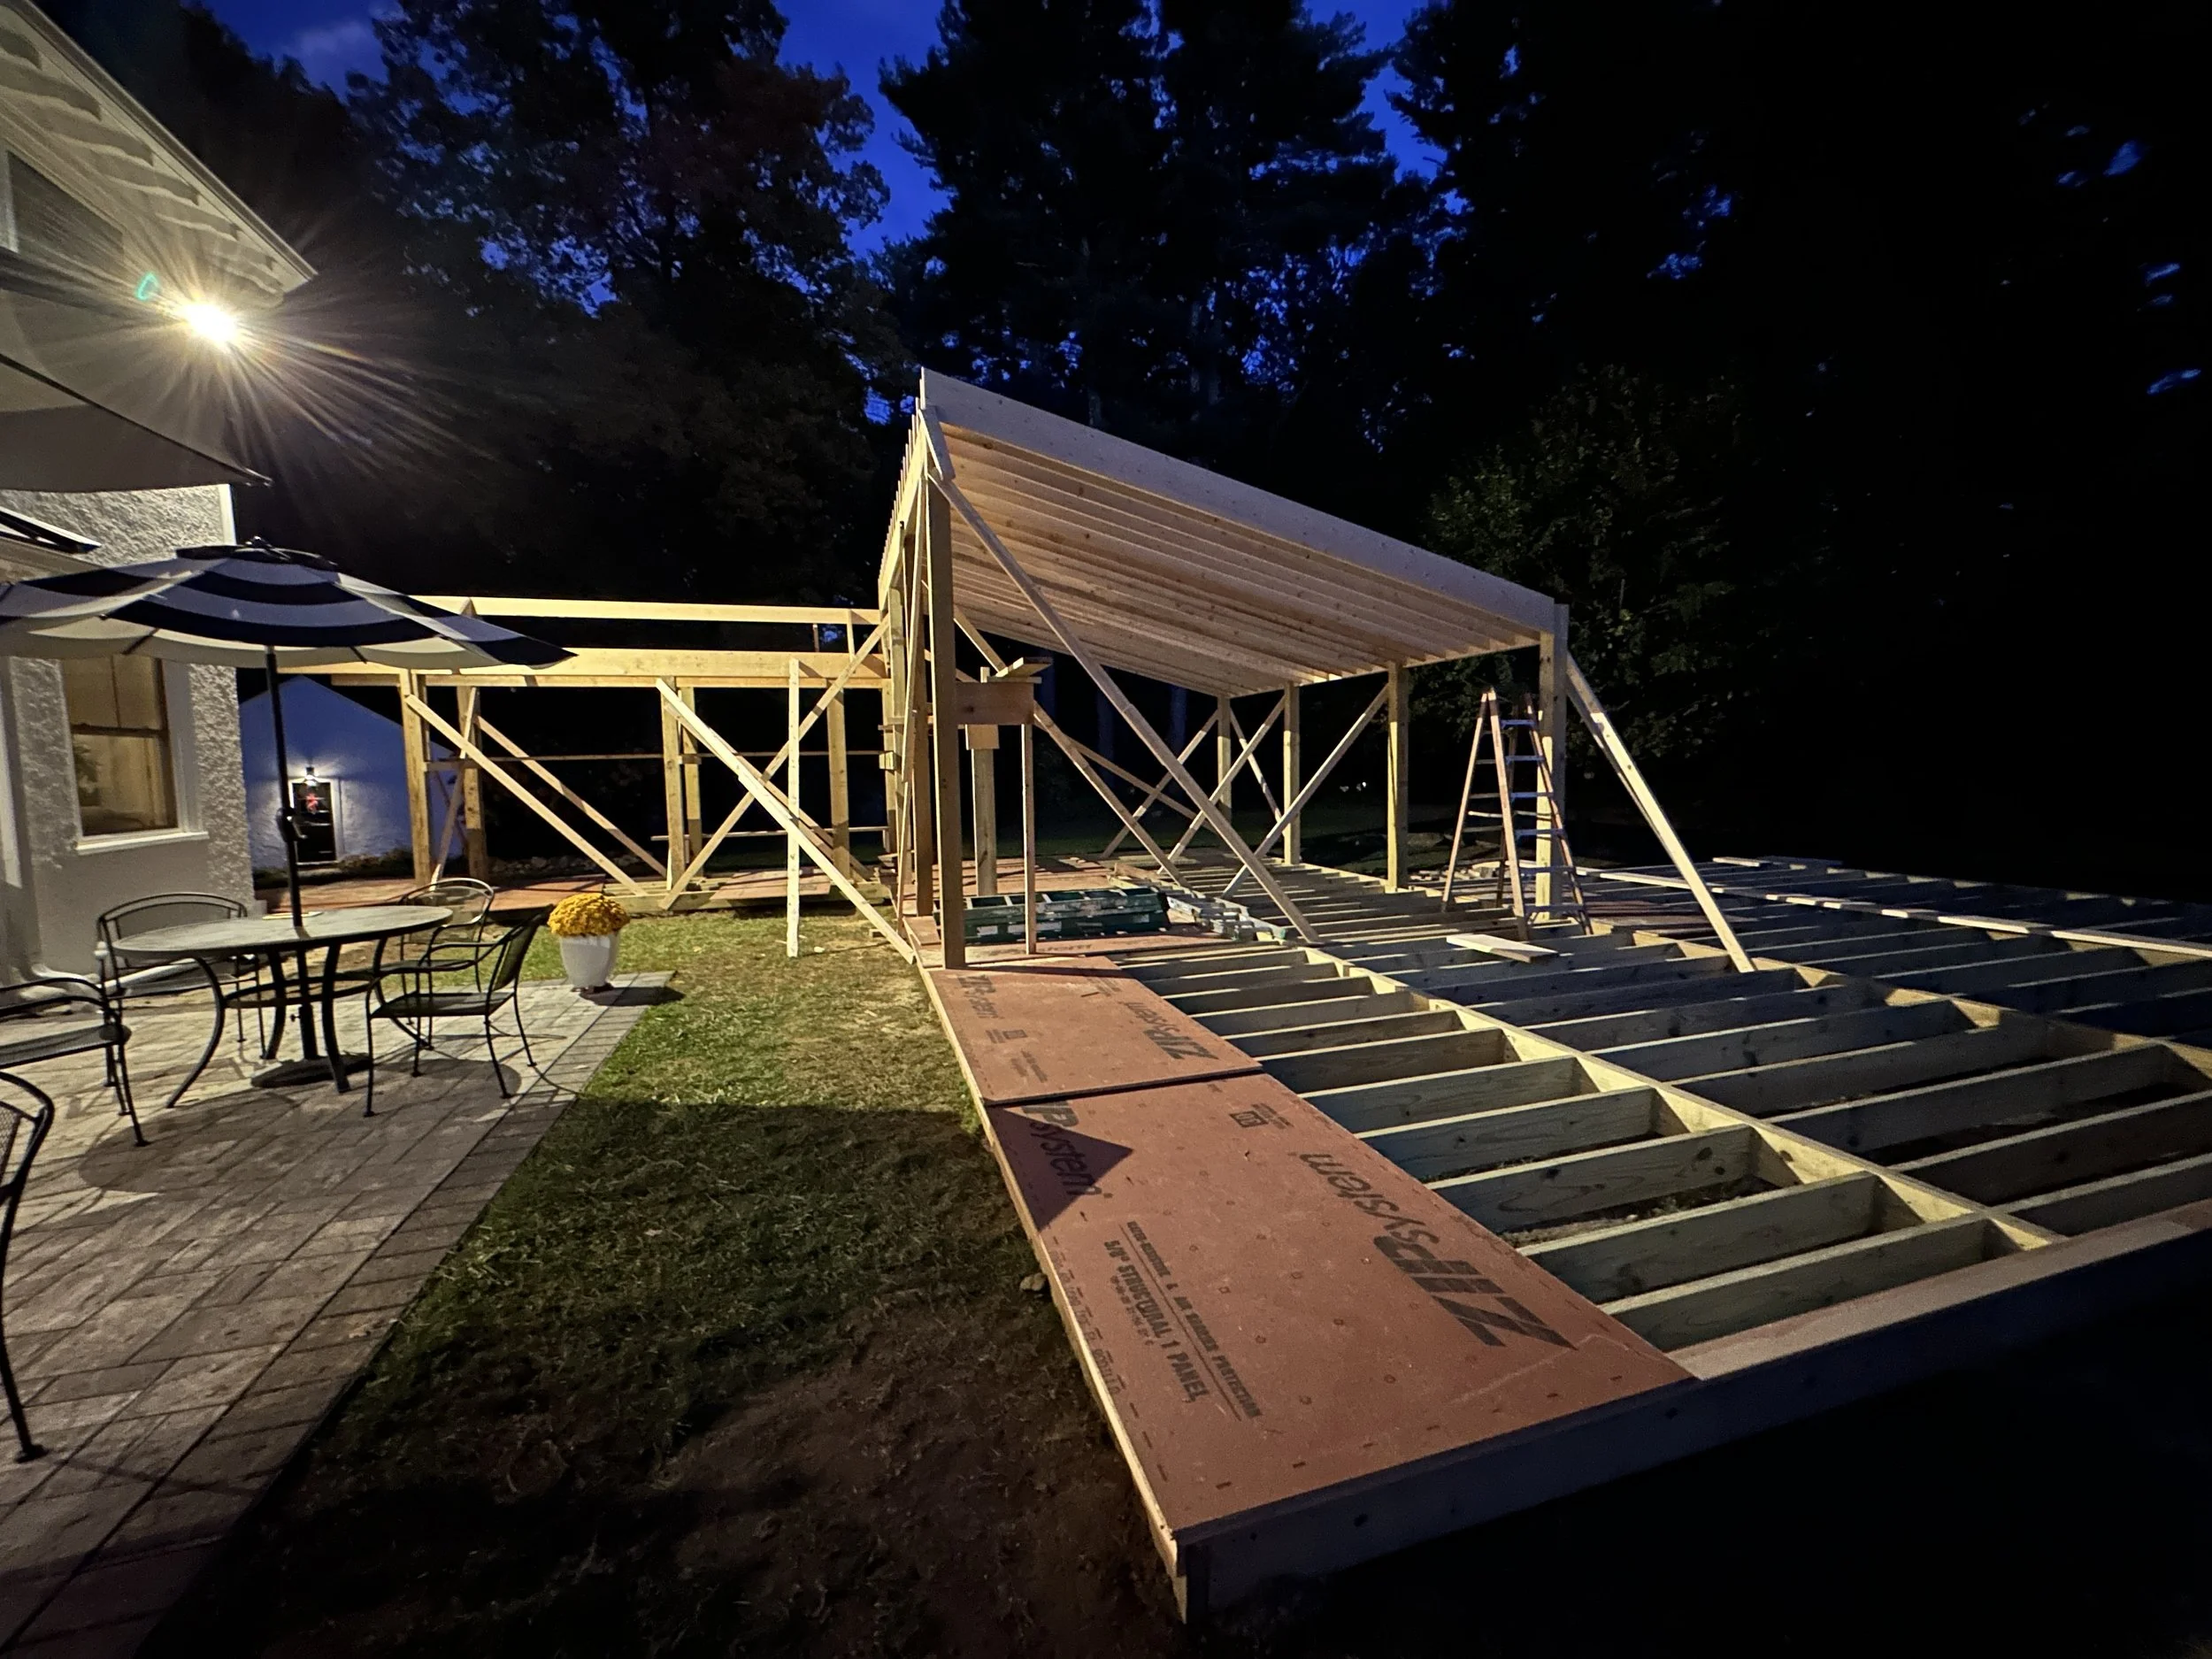
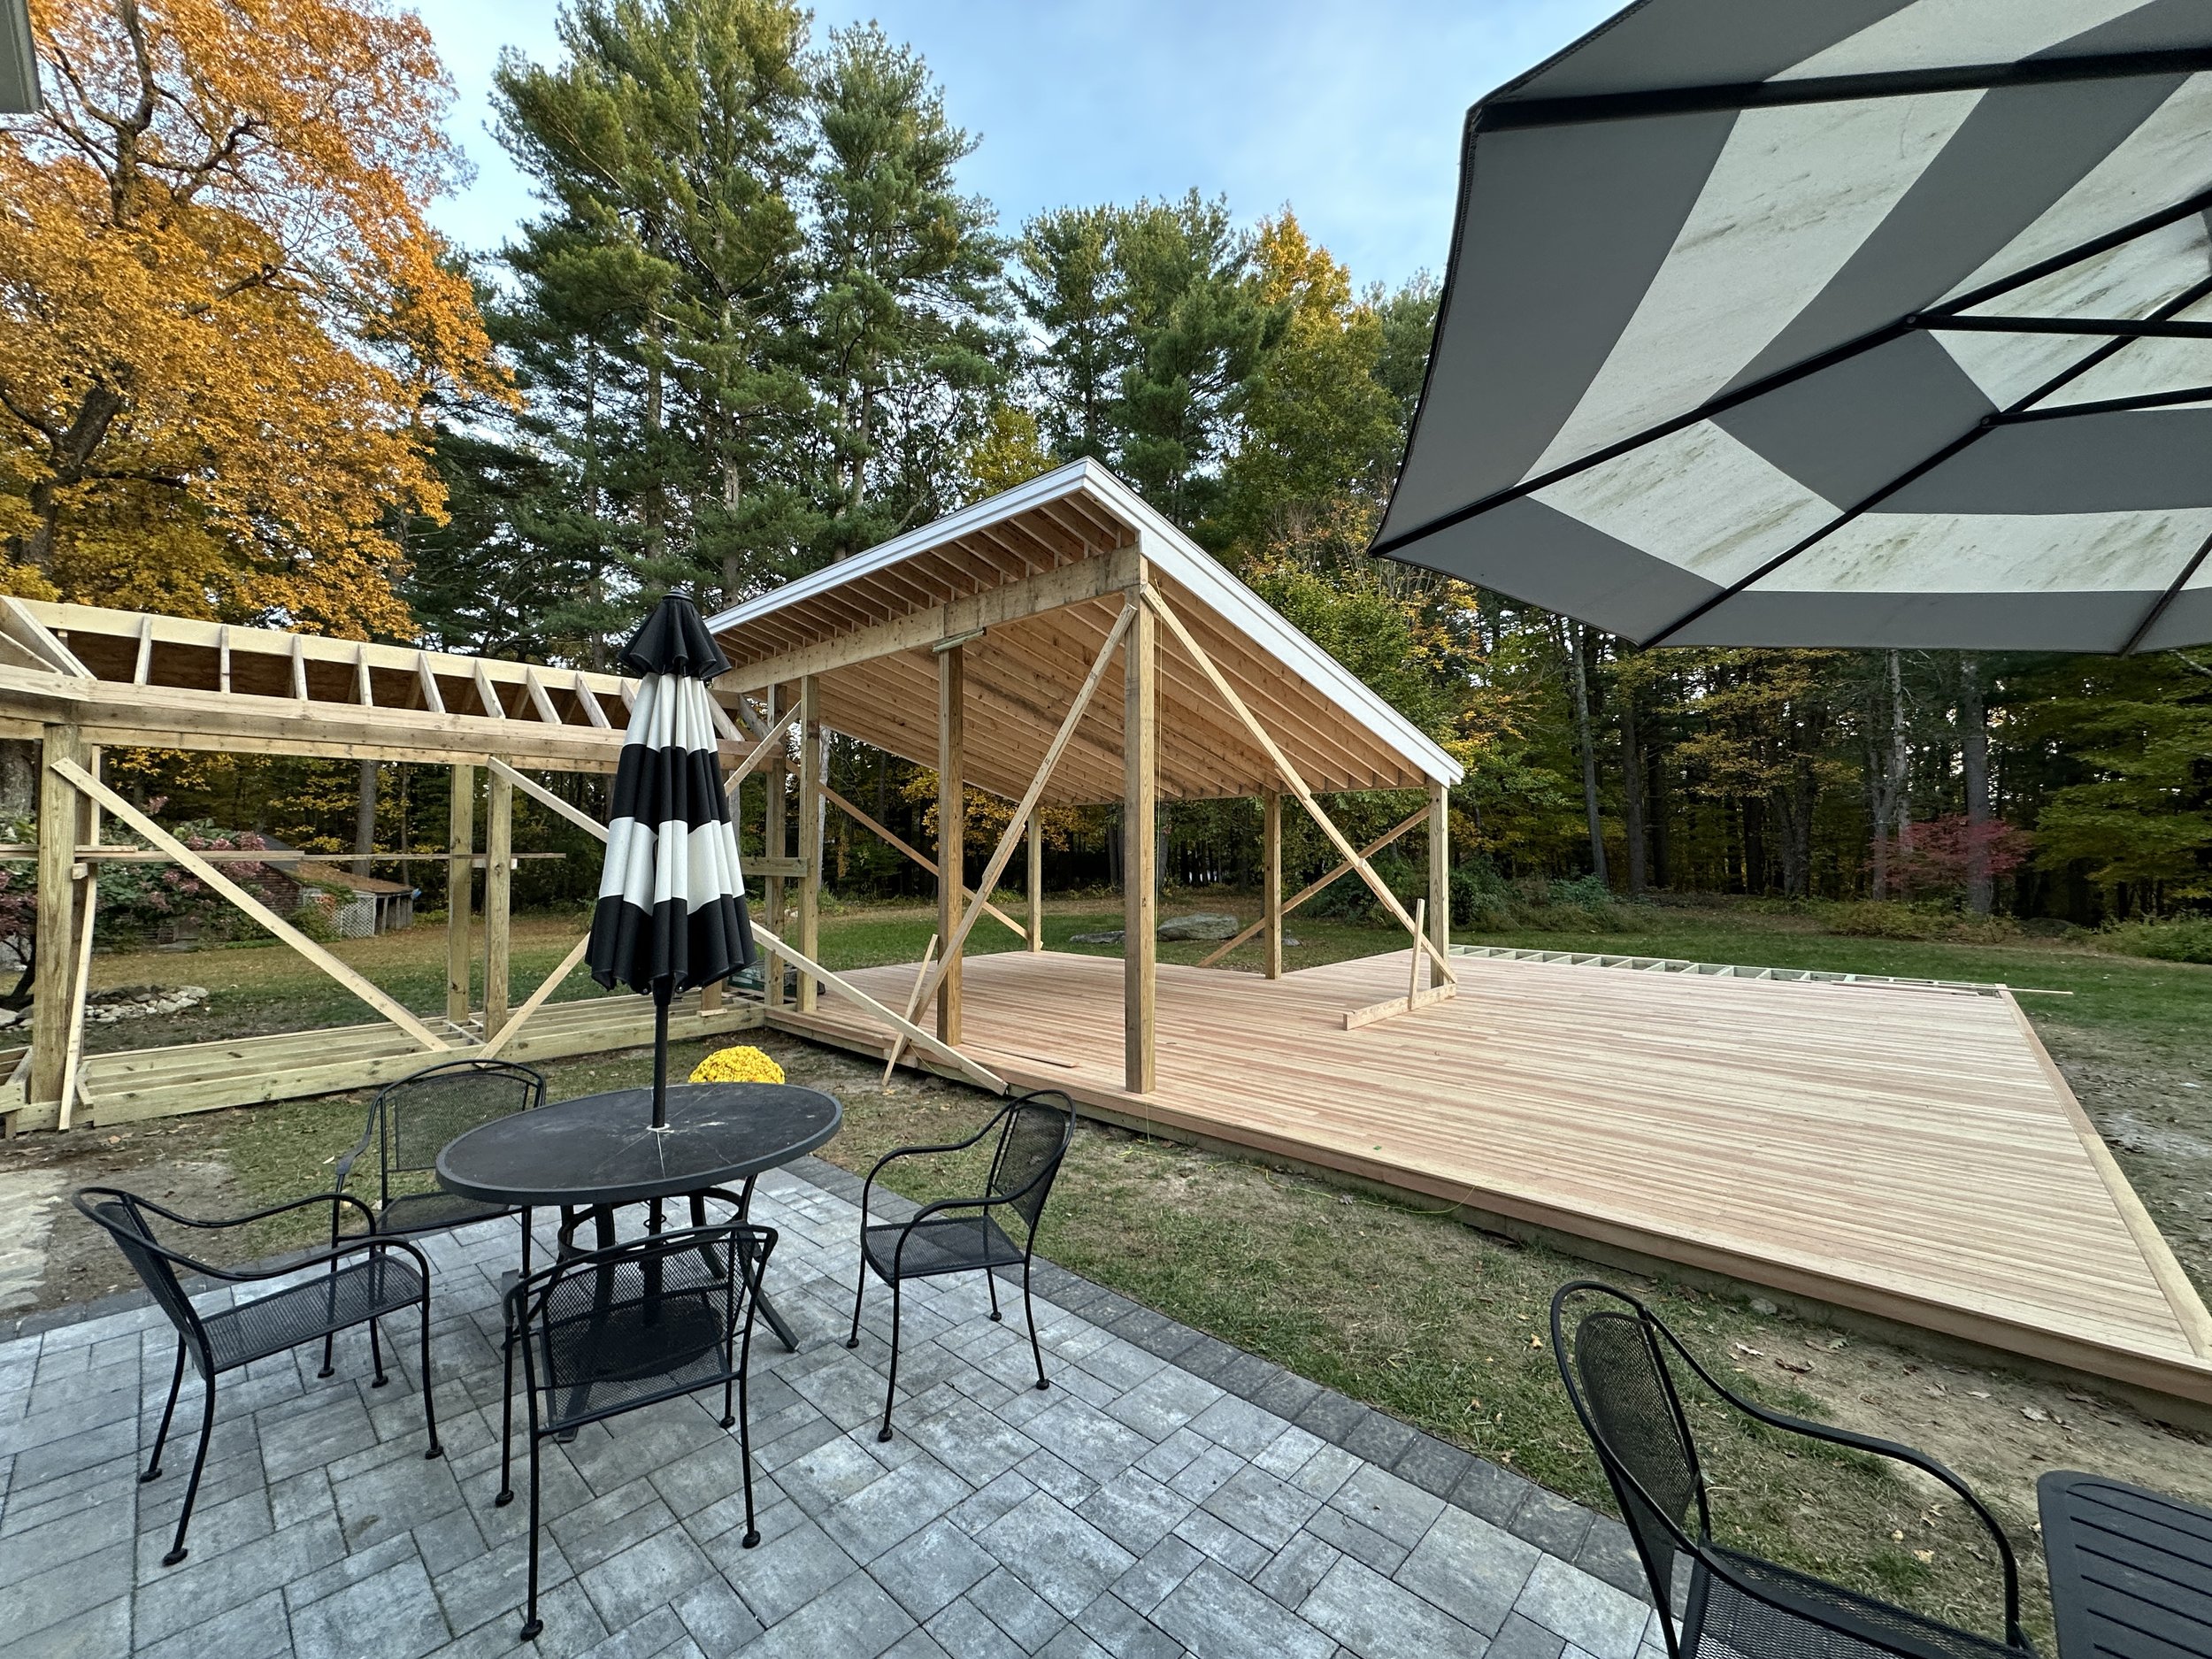
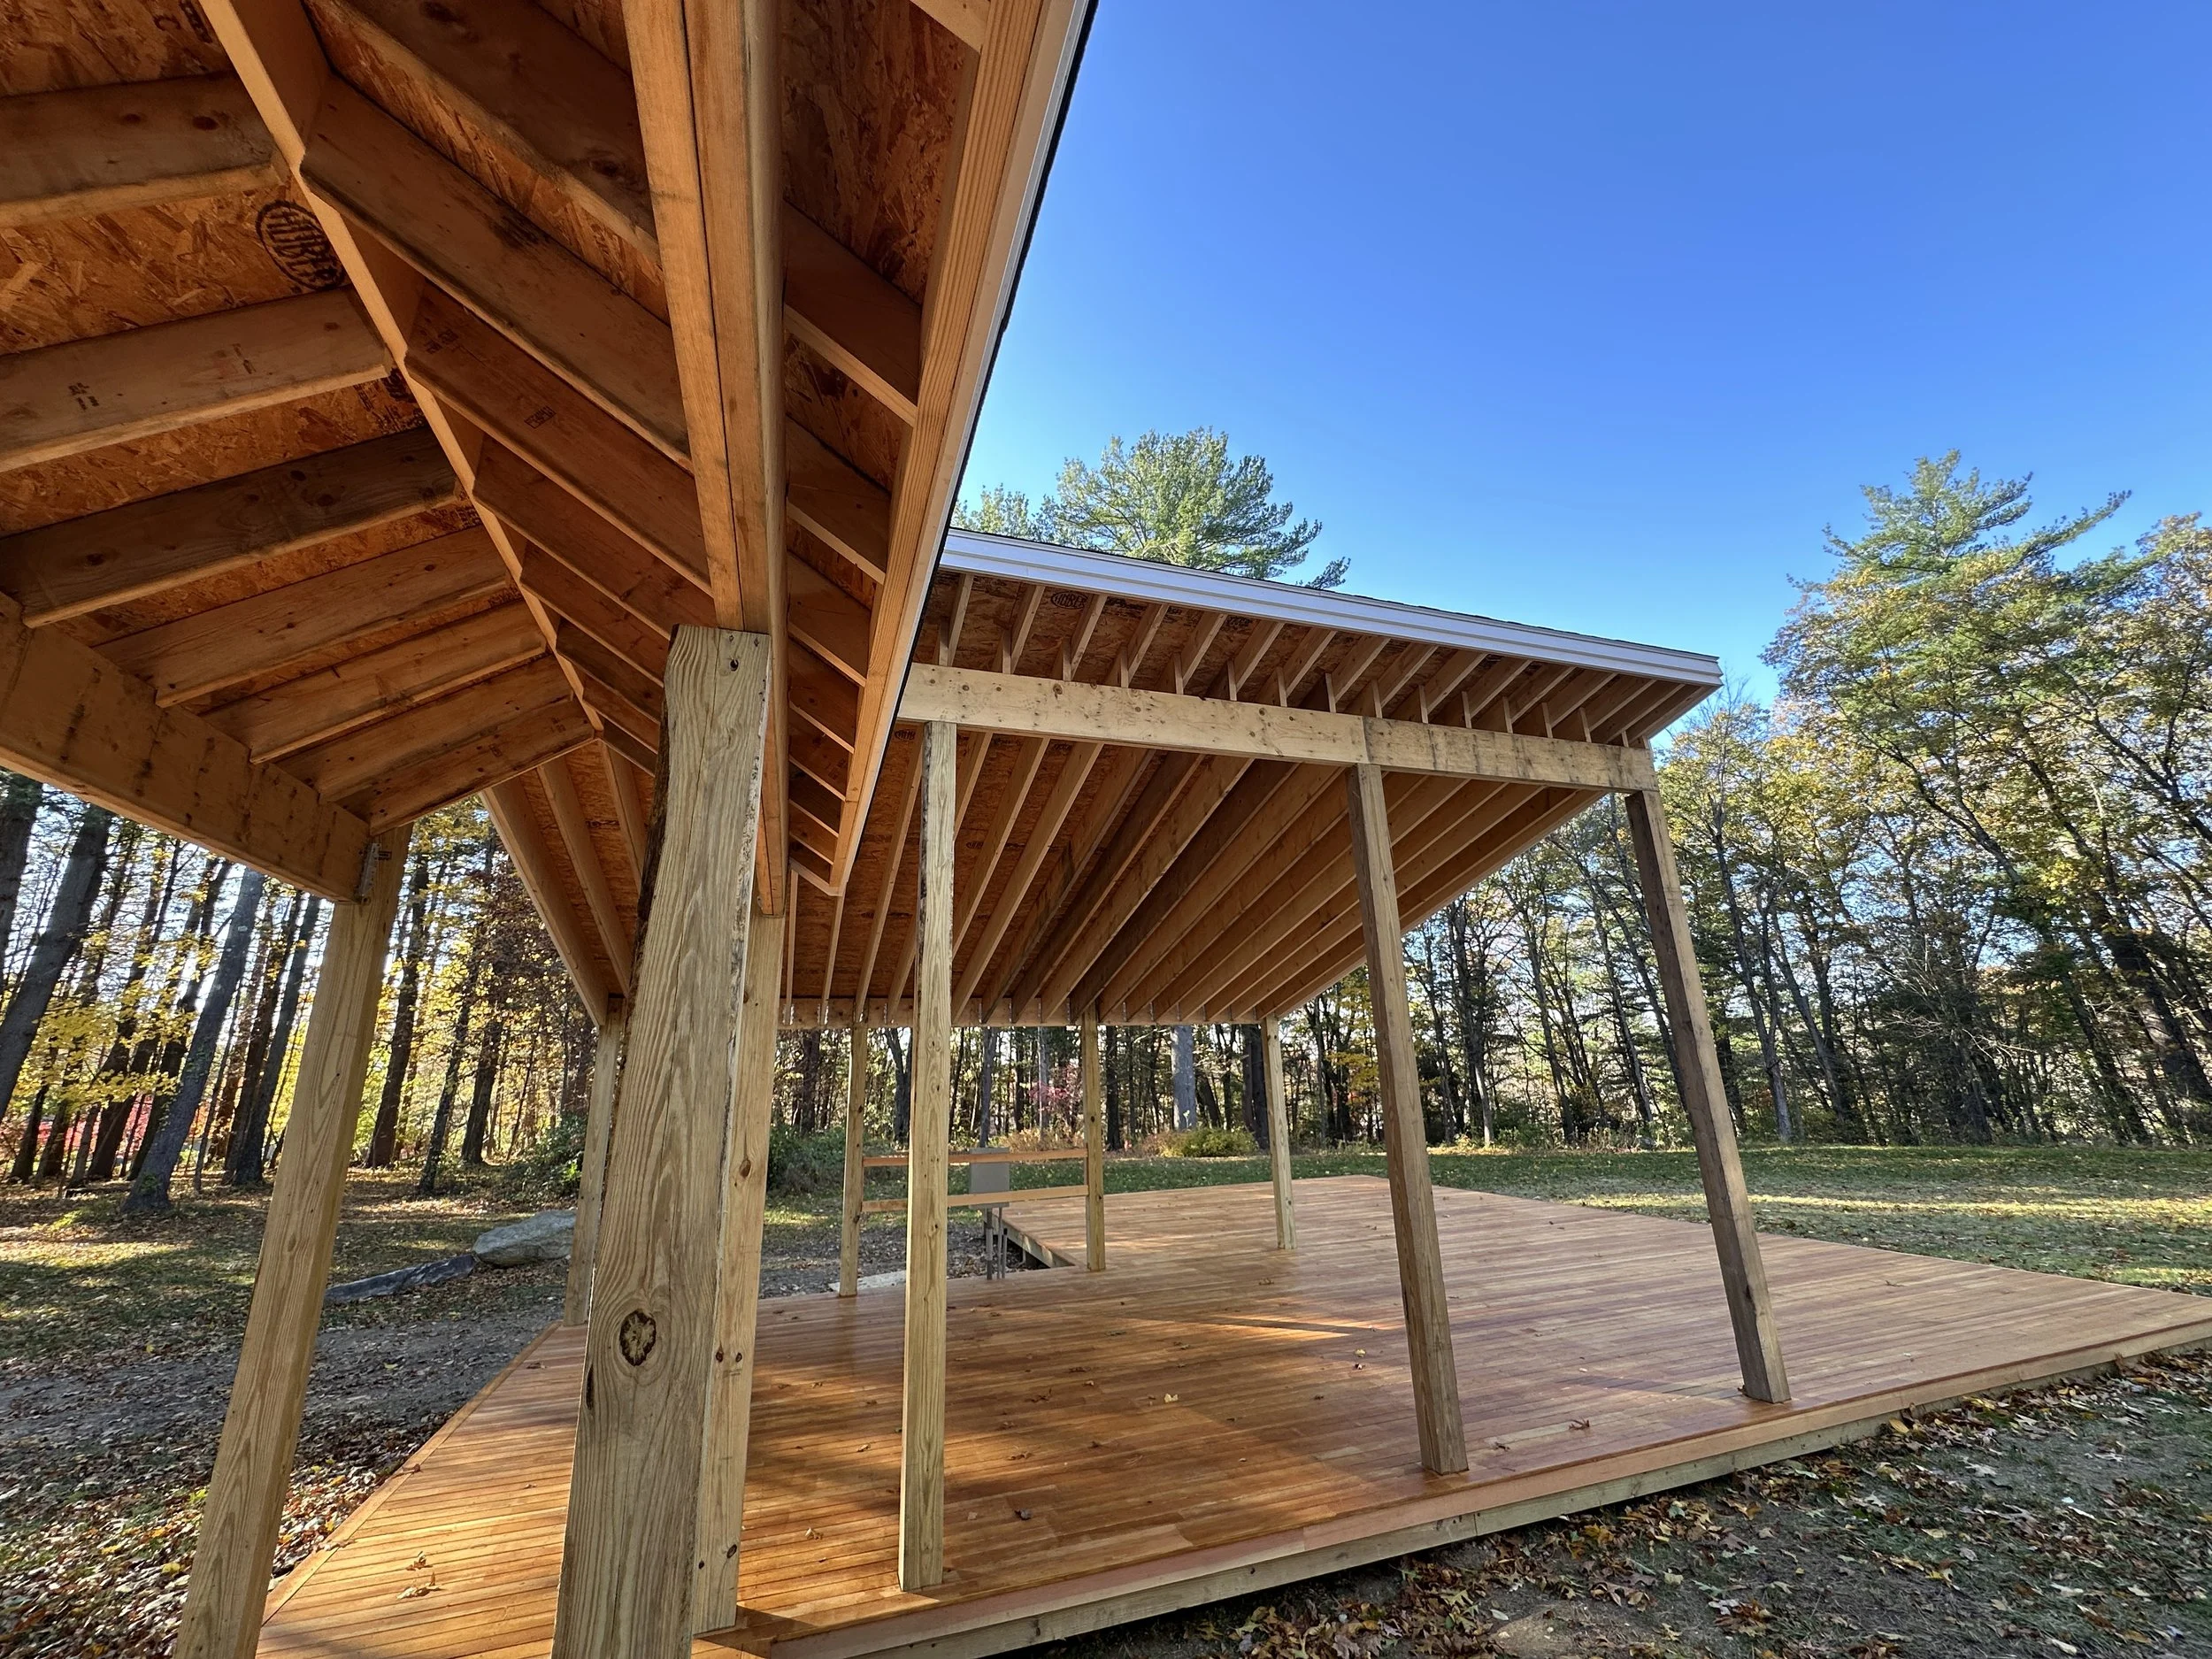
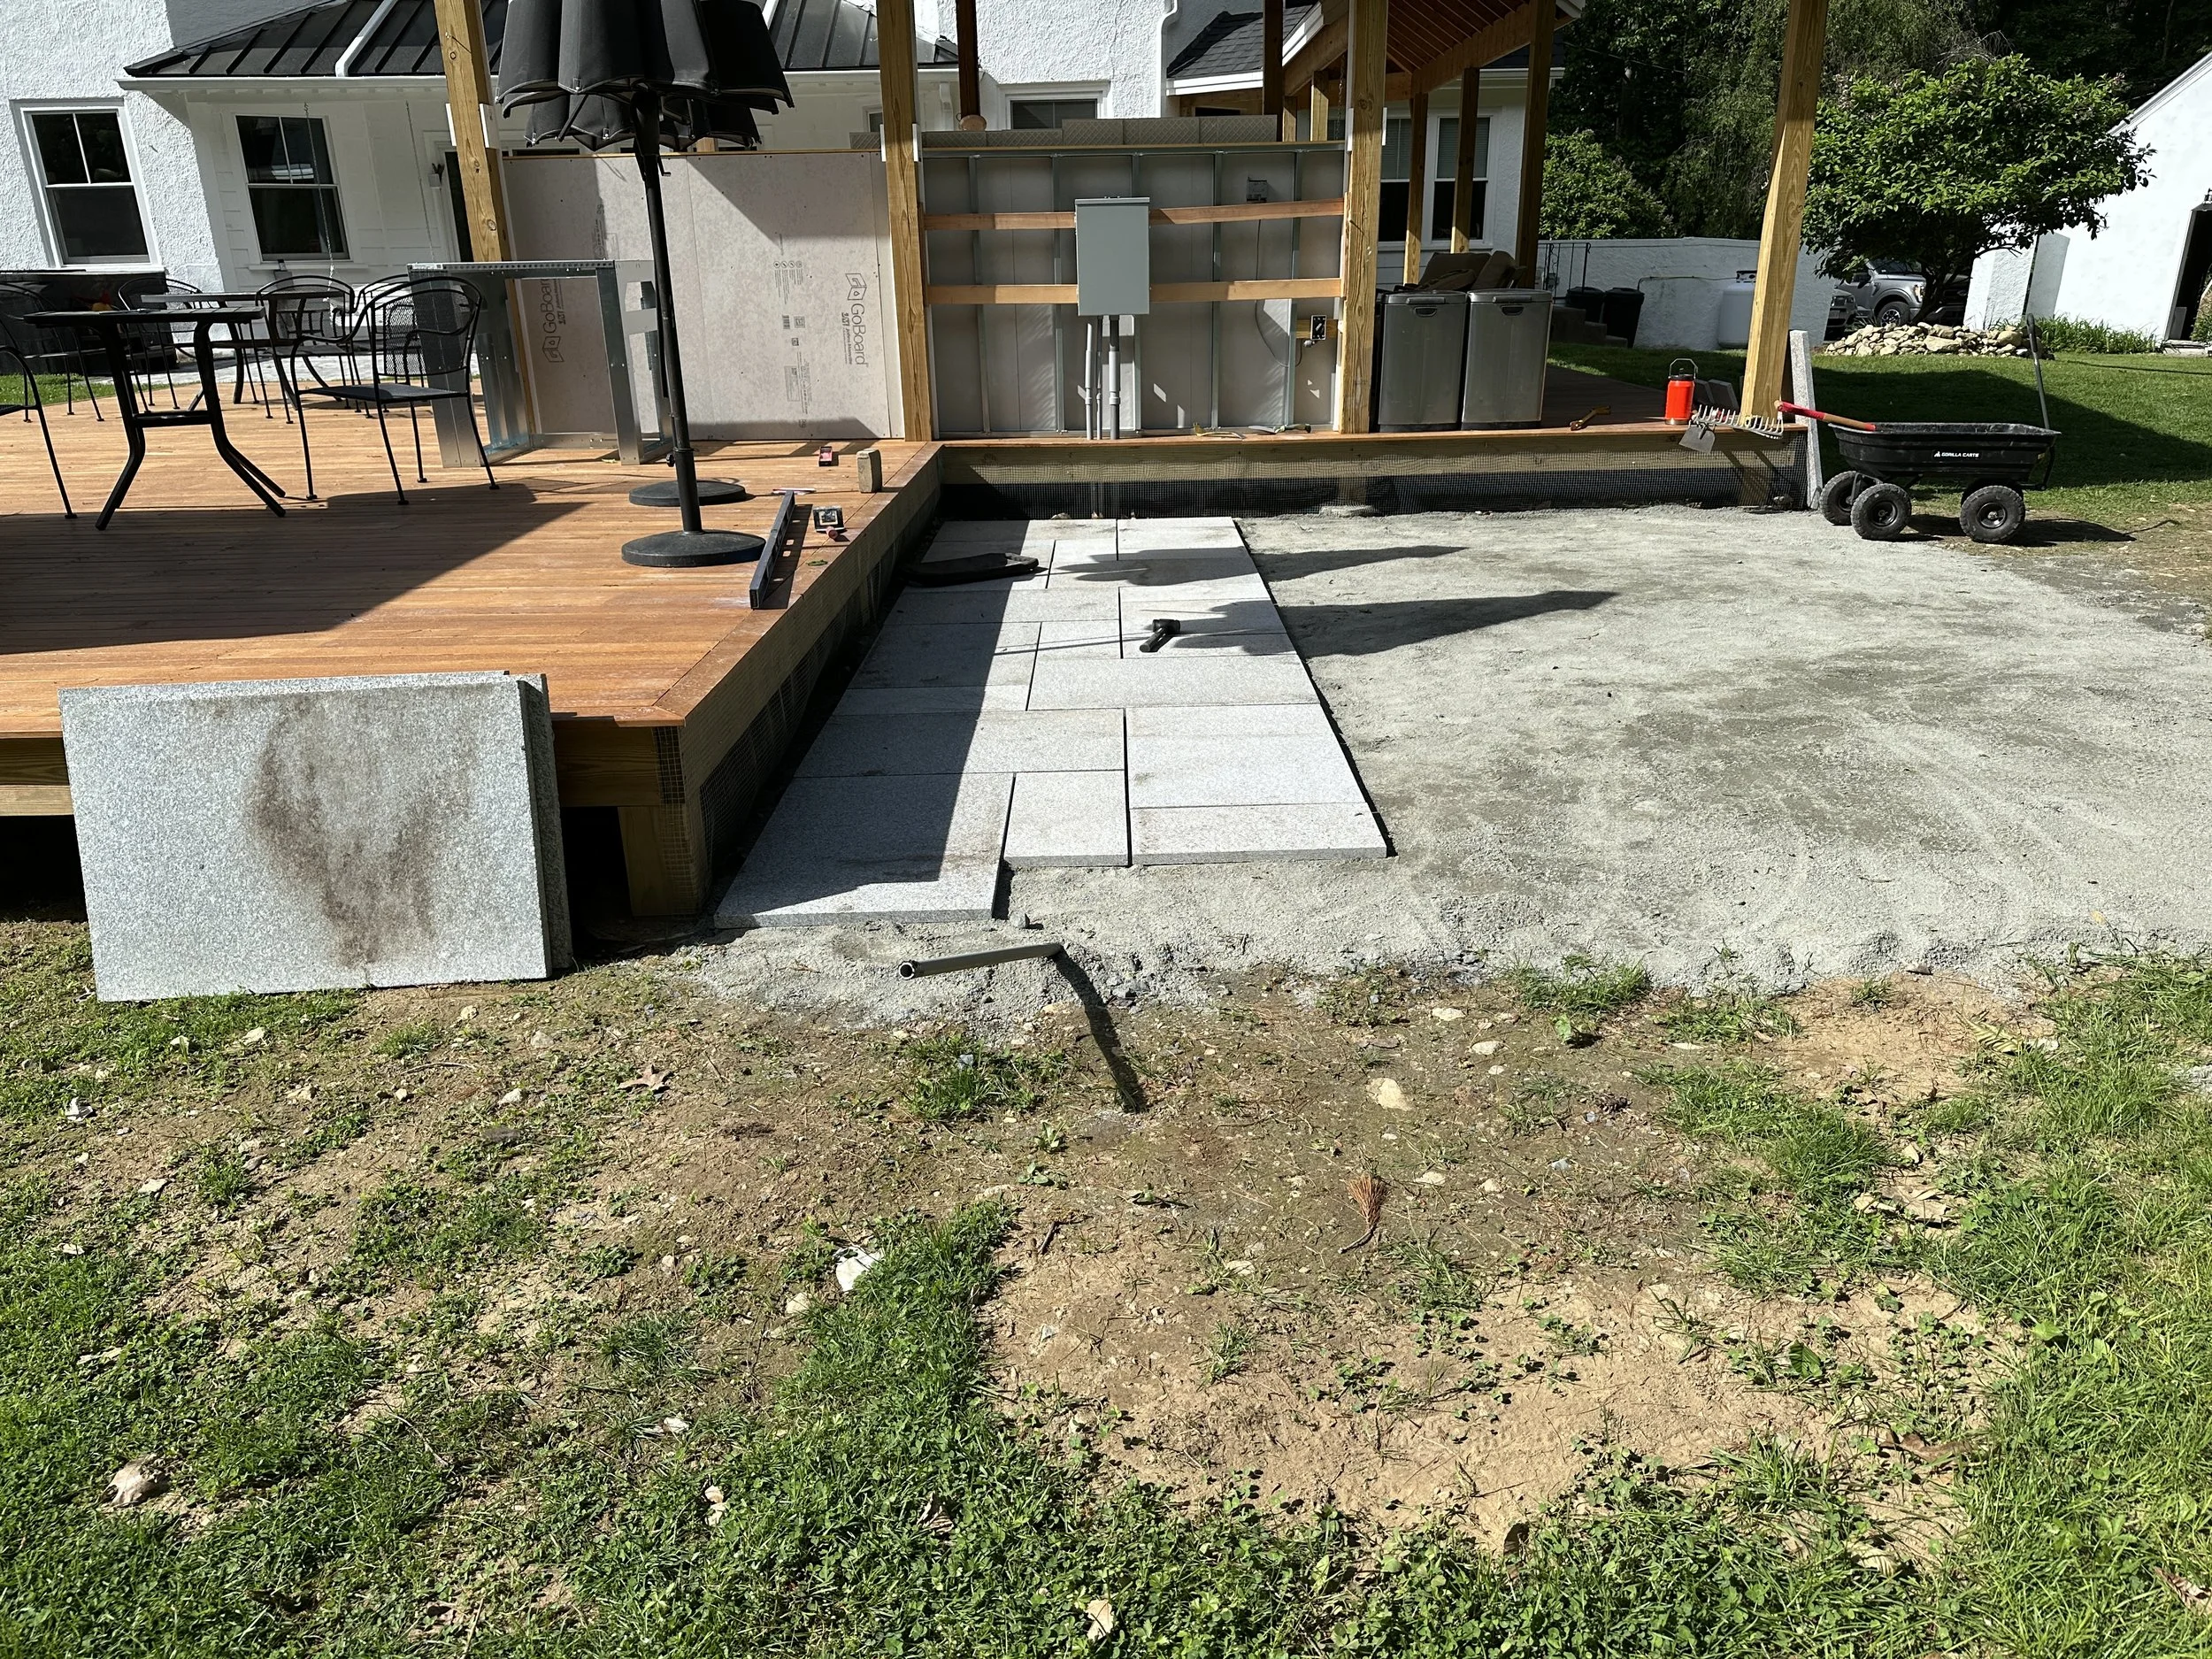
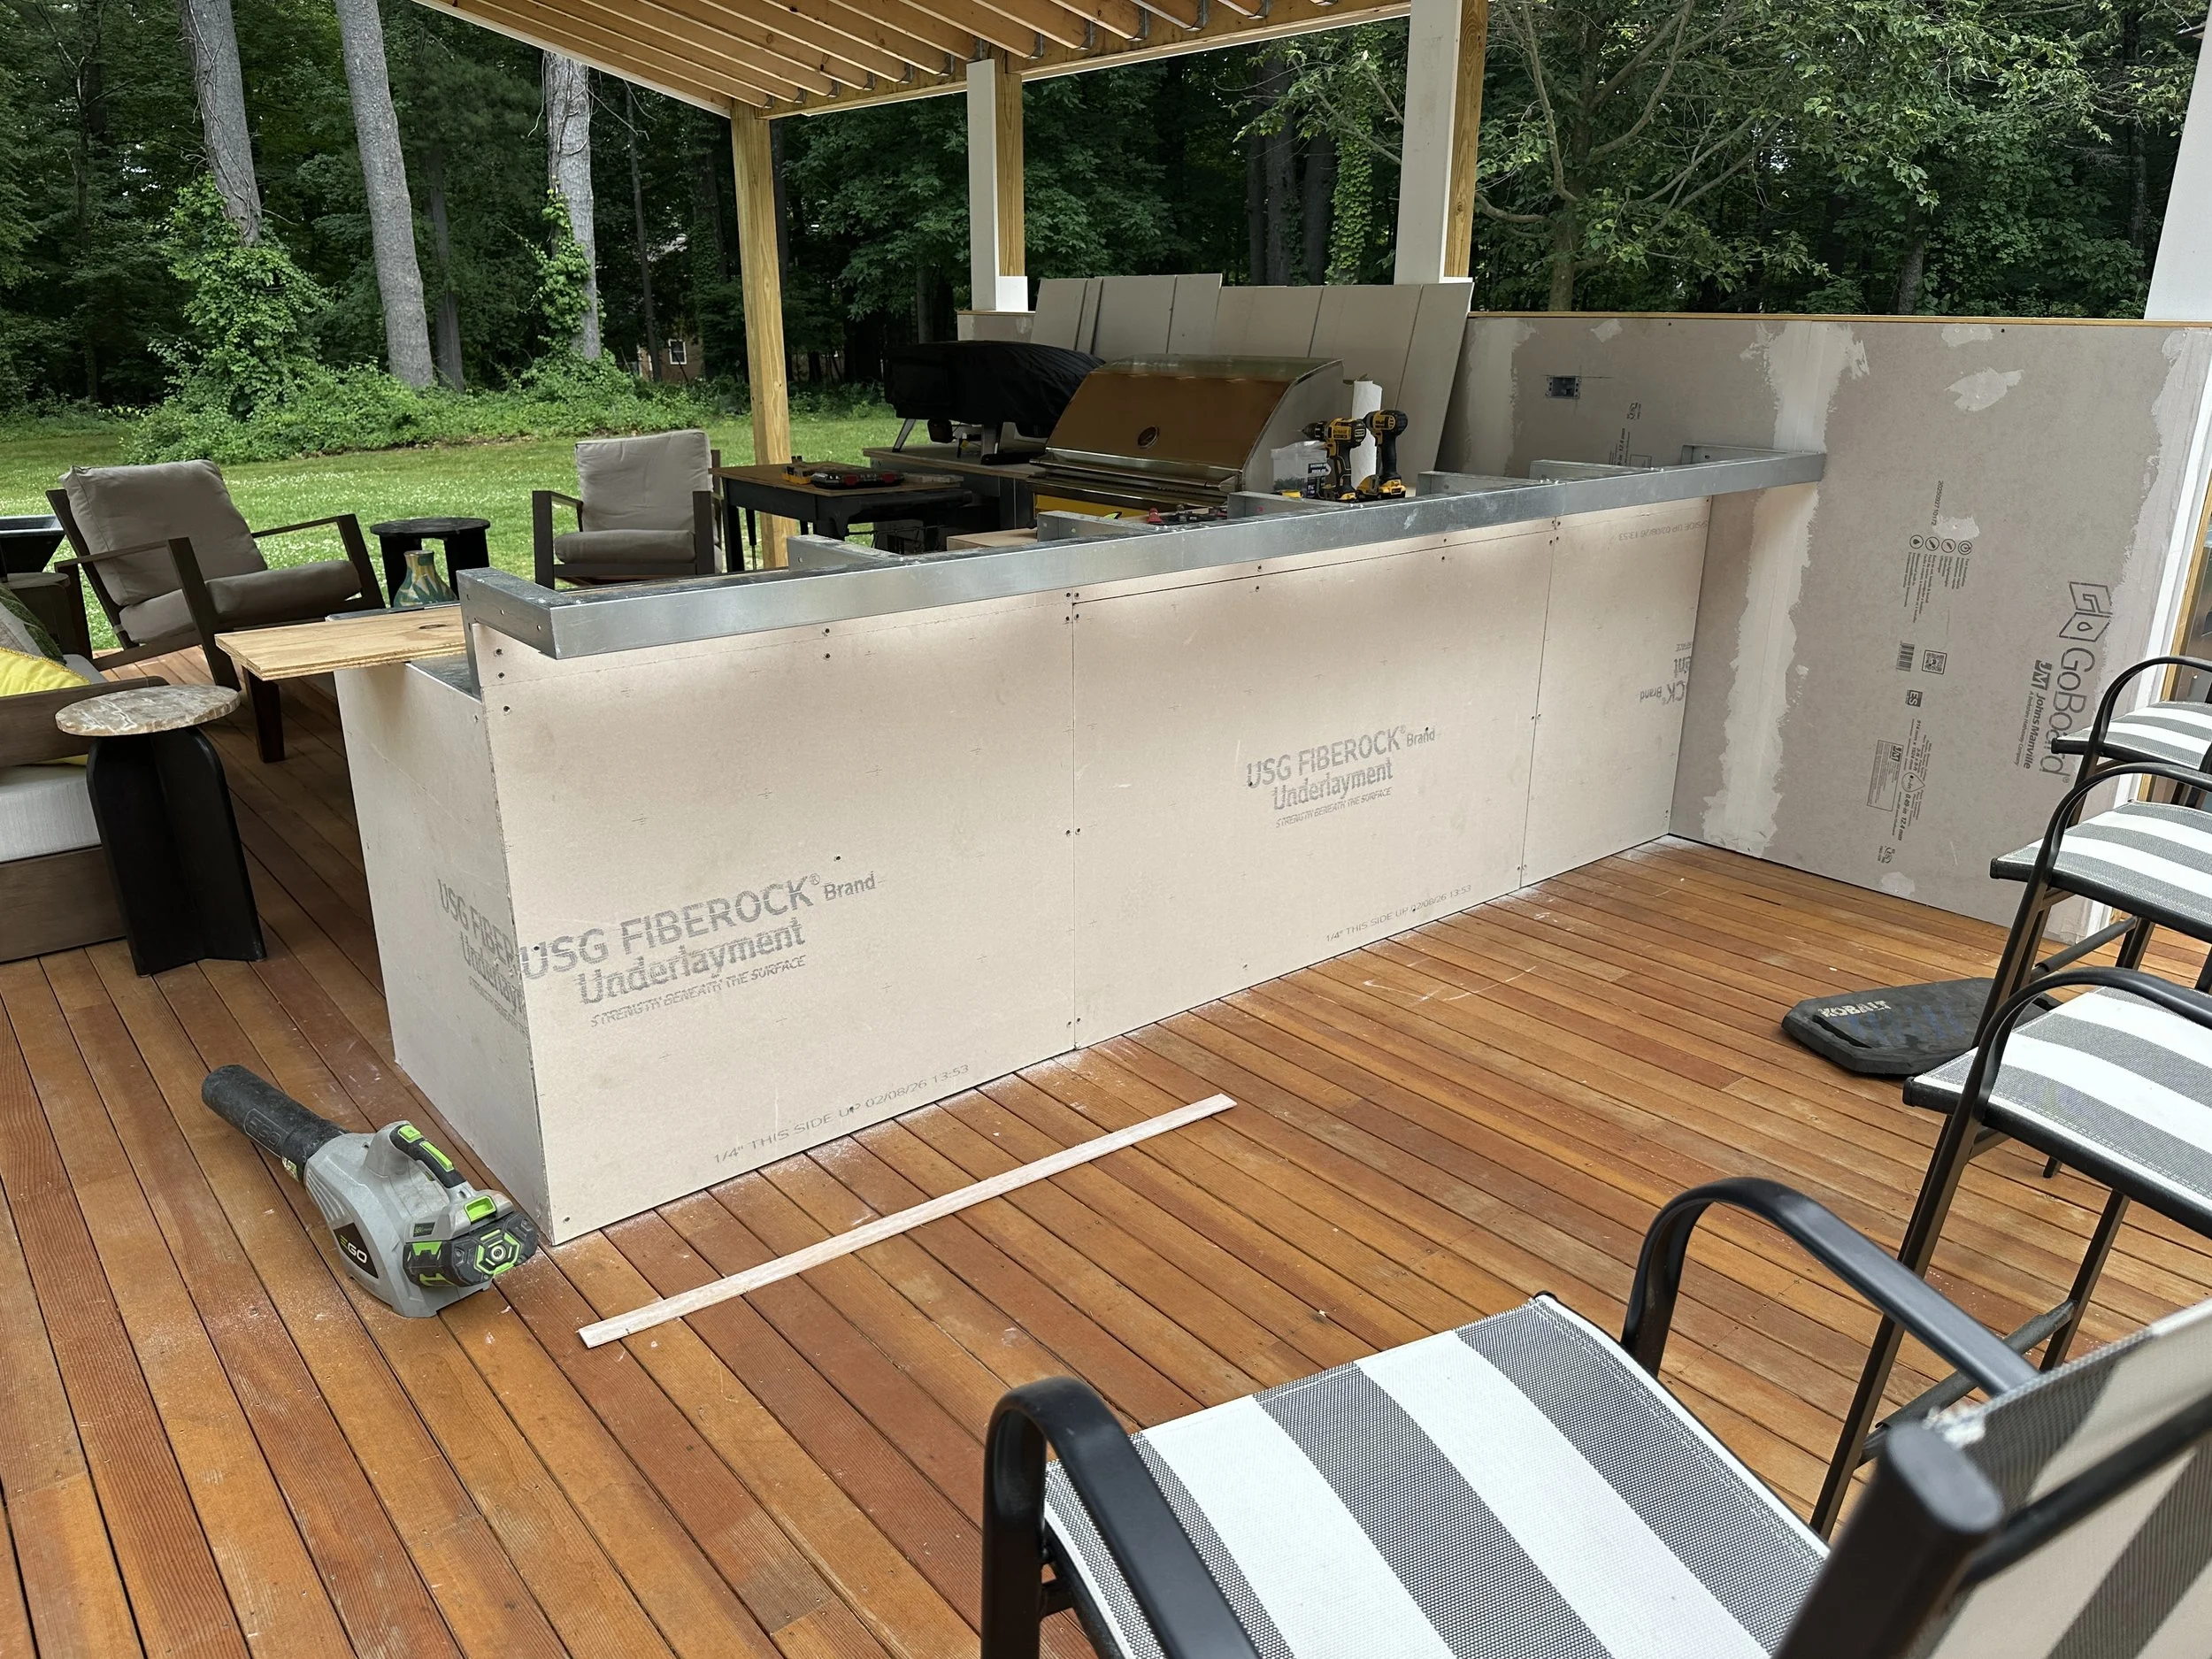
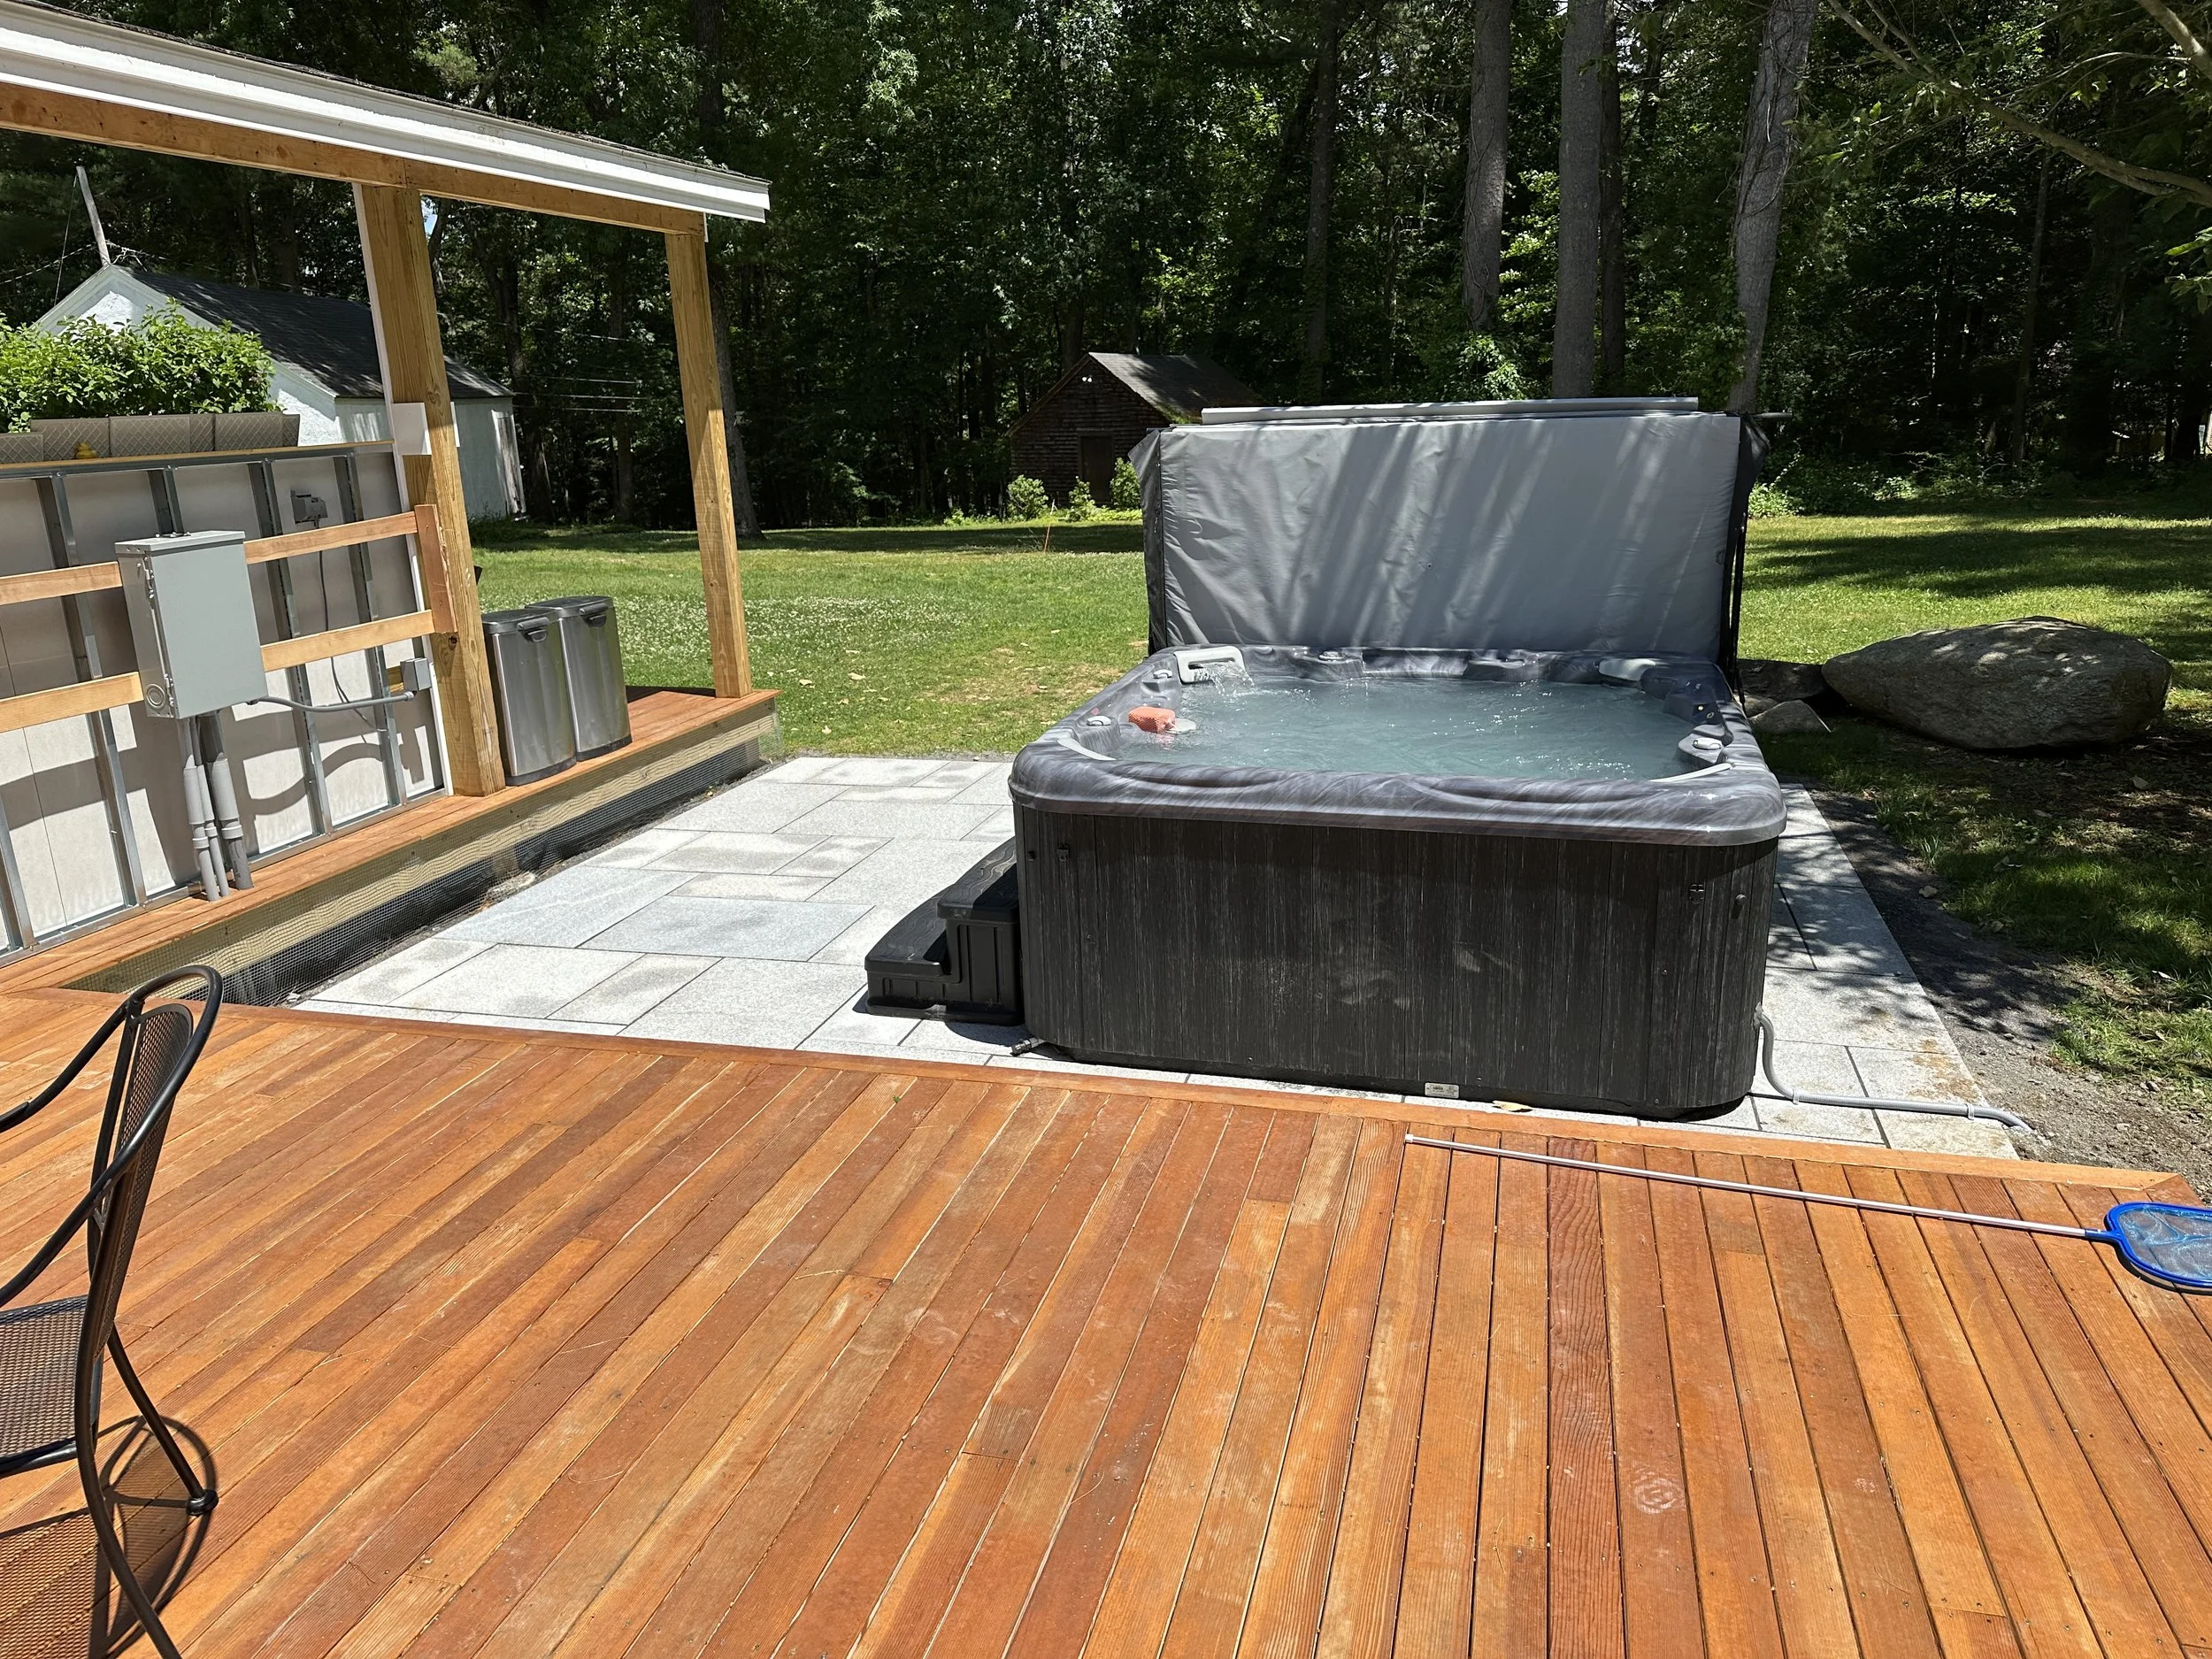
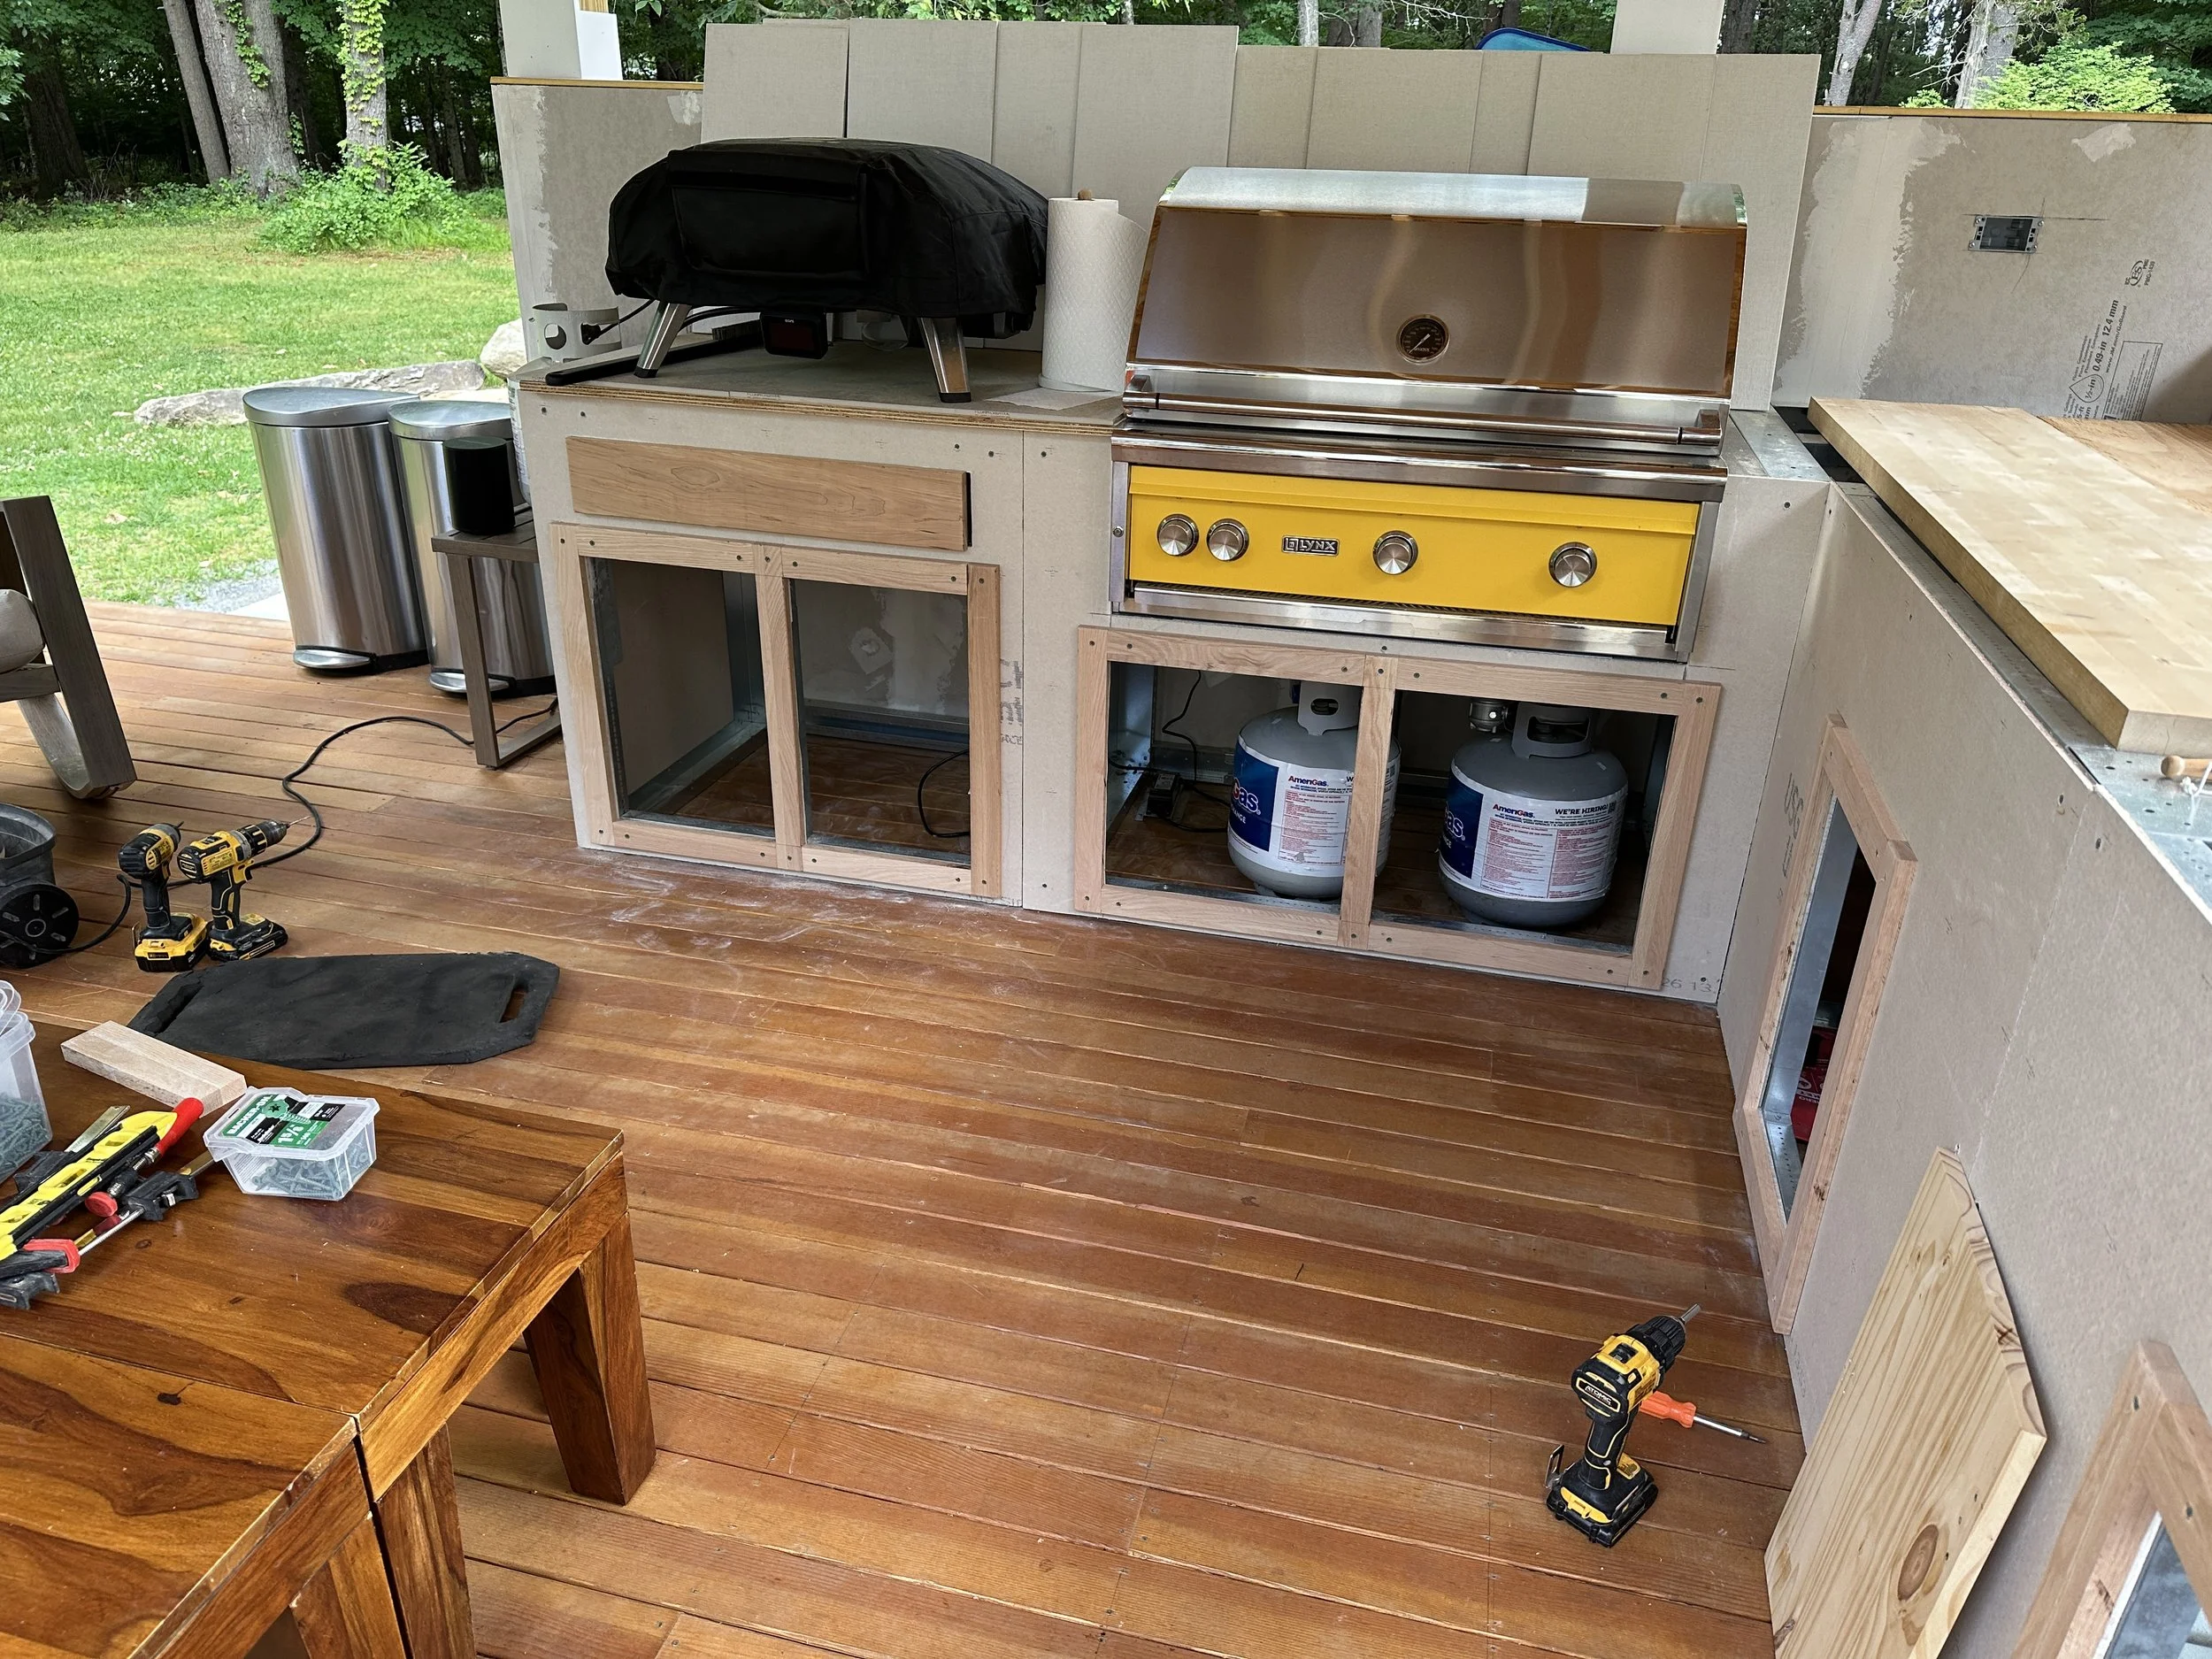
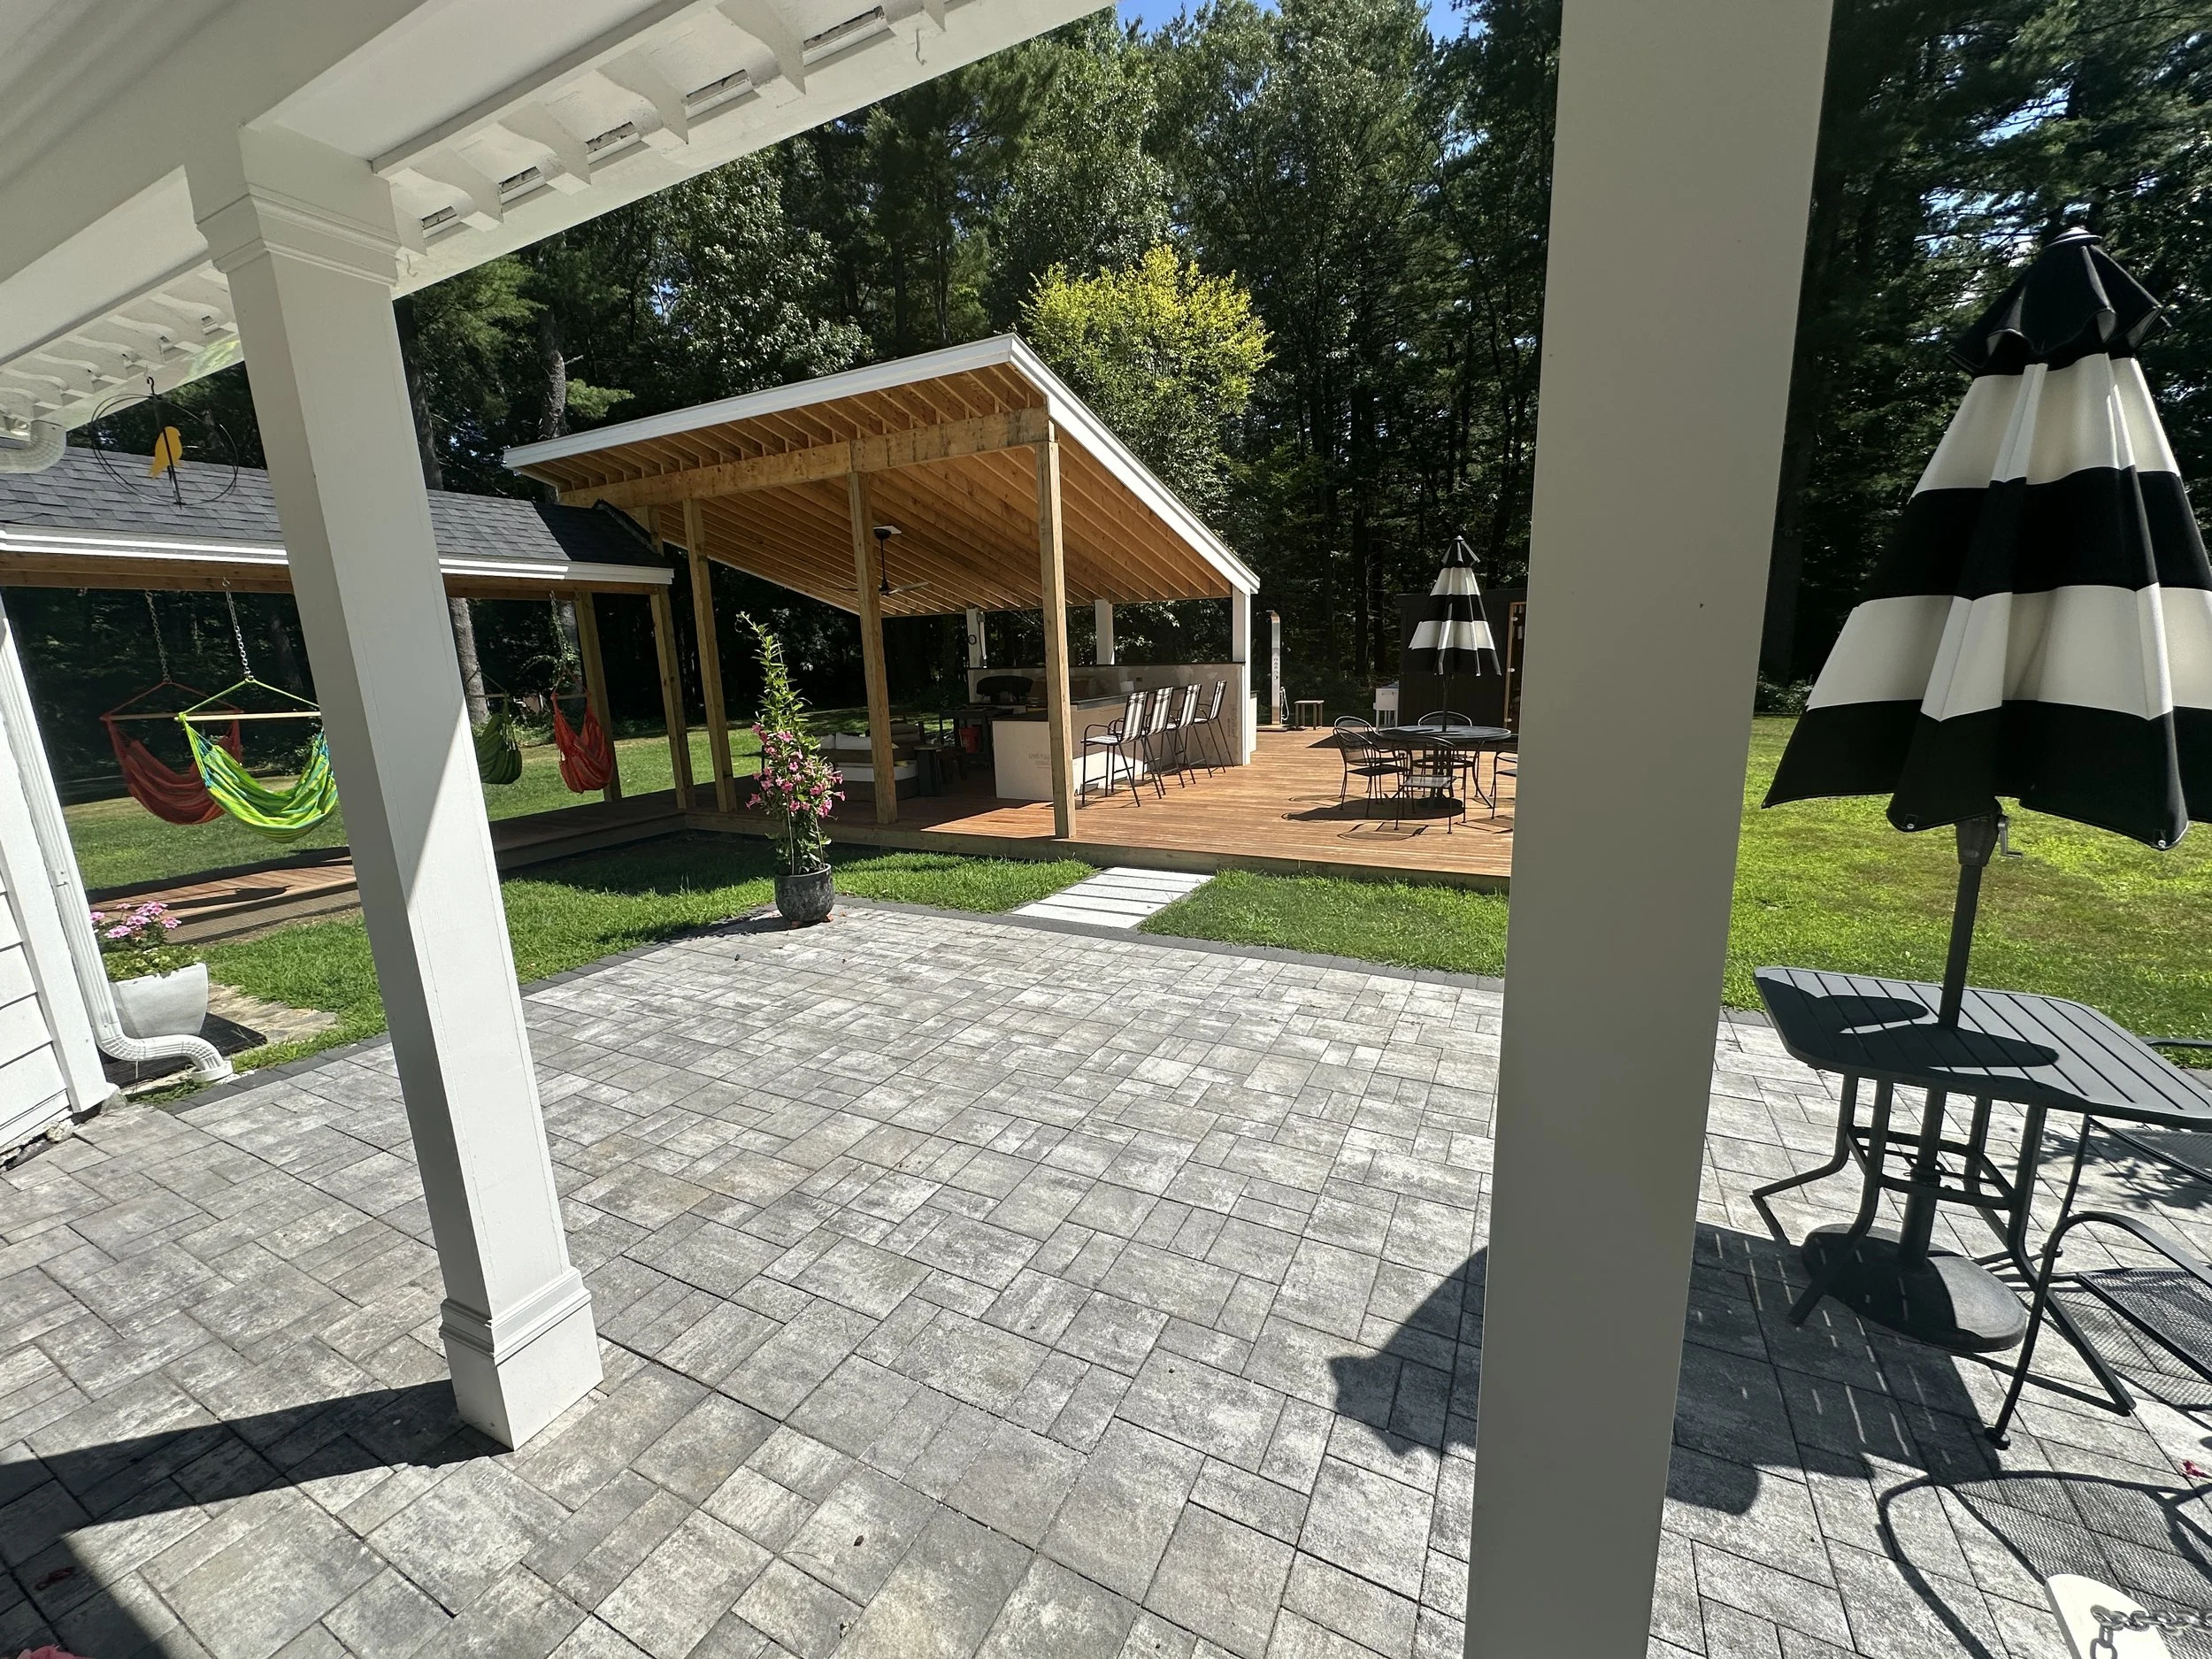
As we finish up our recent “imposed downtime due to a procedure” and managed to get a little trip to Colorado in, figured it was a good time to do a quick recap of the Pulp Deck Project to date as we now gear up to get busy again!
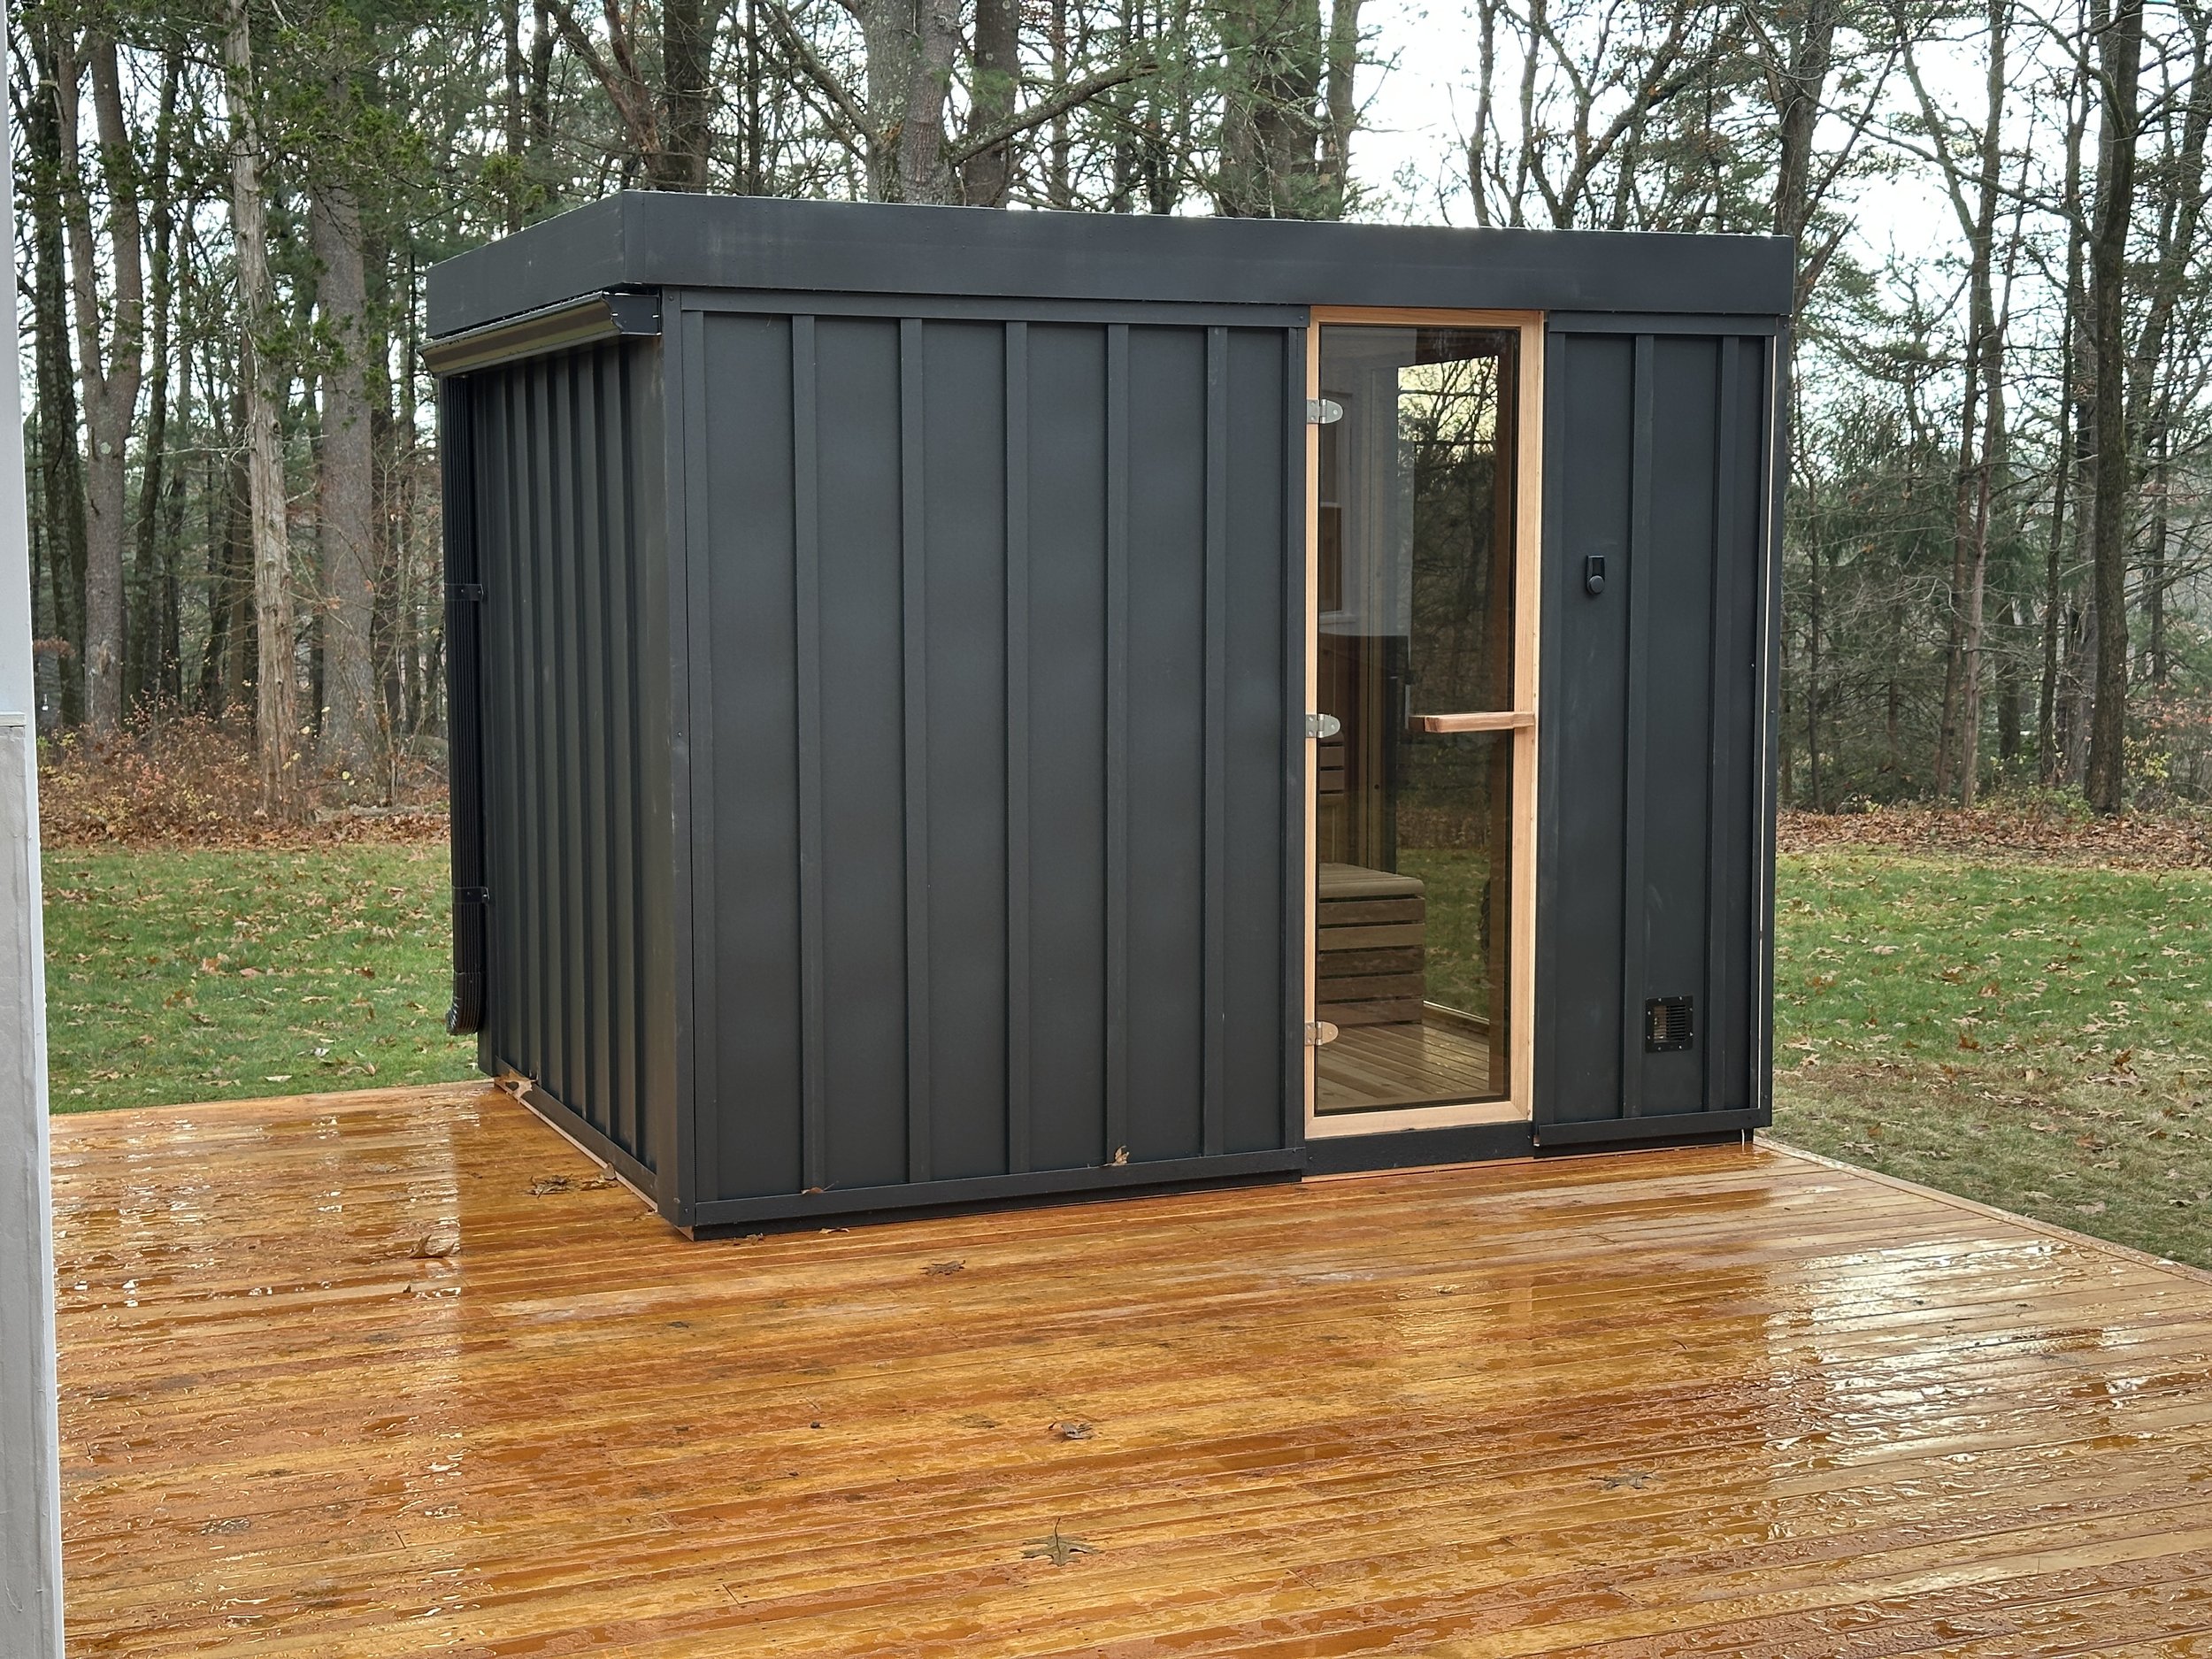
Leaping back to last year (and I want to say pretty much this same time last year), we decided to go out and have a look at saunas, as we had had that on our list of things to eventually get and all become part of the “dream” backyard oasis that we had envisioned. And wouldn’t you know it, we stepped into New England Spas and they just happened to be having a “super sale” that day. Perusing through in store units and various catalogues, we were blown away by the look of the Pure Cube Neptune sauna, which immediately unleashed visions of grandeur….and an outdoor deck that would house said sauna (along with a covered outdoor kitchen area, a relocated hot tub and plenty of seating and entertainment space)!
Did I need to mention that we went ahead and bought the Pure Cube? Guessing not, if you’ve been following the progress till now! Anyway, the good news was that these saunas are not actually sitting in a shop somewhere and ready to be shipped, they are made to order and by committing to the purchase you pretty much then get in a queue to have your unit put into production. Why was this good news? Well, we did not actually have that deck to place it on at that time. But that got it all in motion and while we had a couple months to actually get a deck (or at least a platform) ready for the sauna, we also knew that we’d also eventually run out of seasonal weather to be working outdoors up in the New England area.
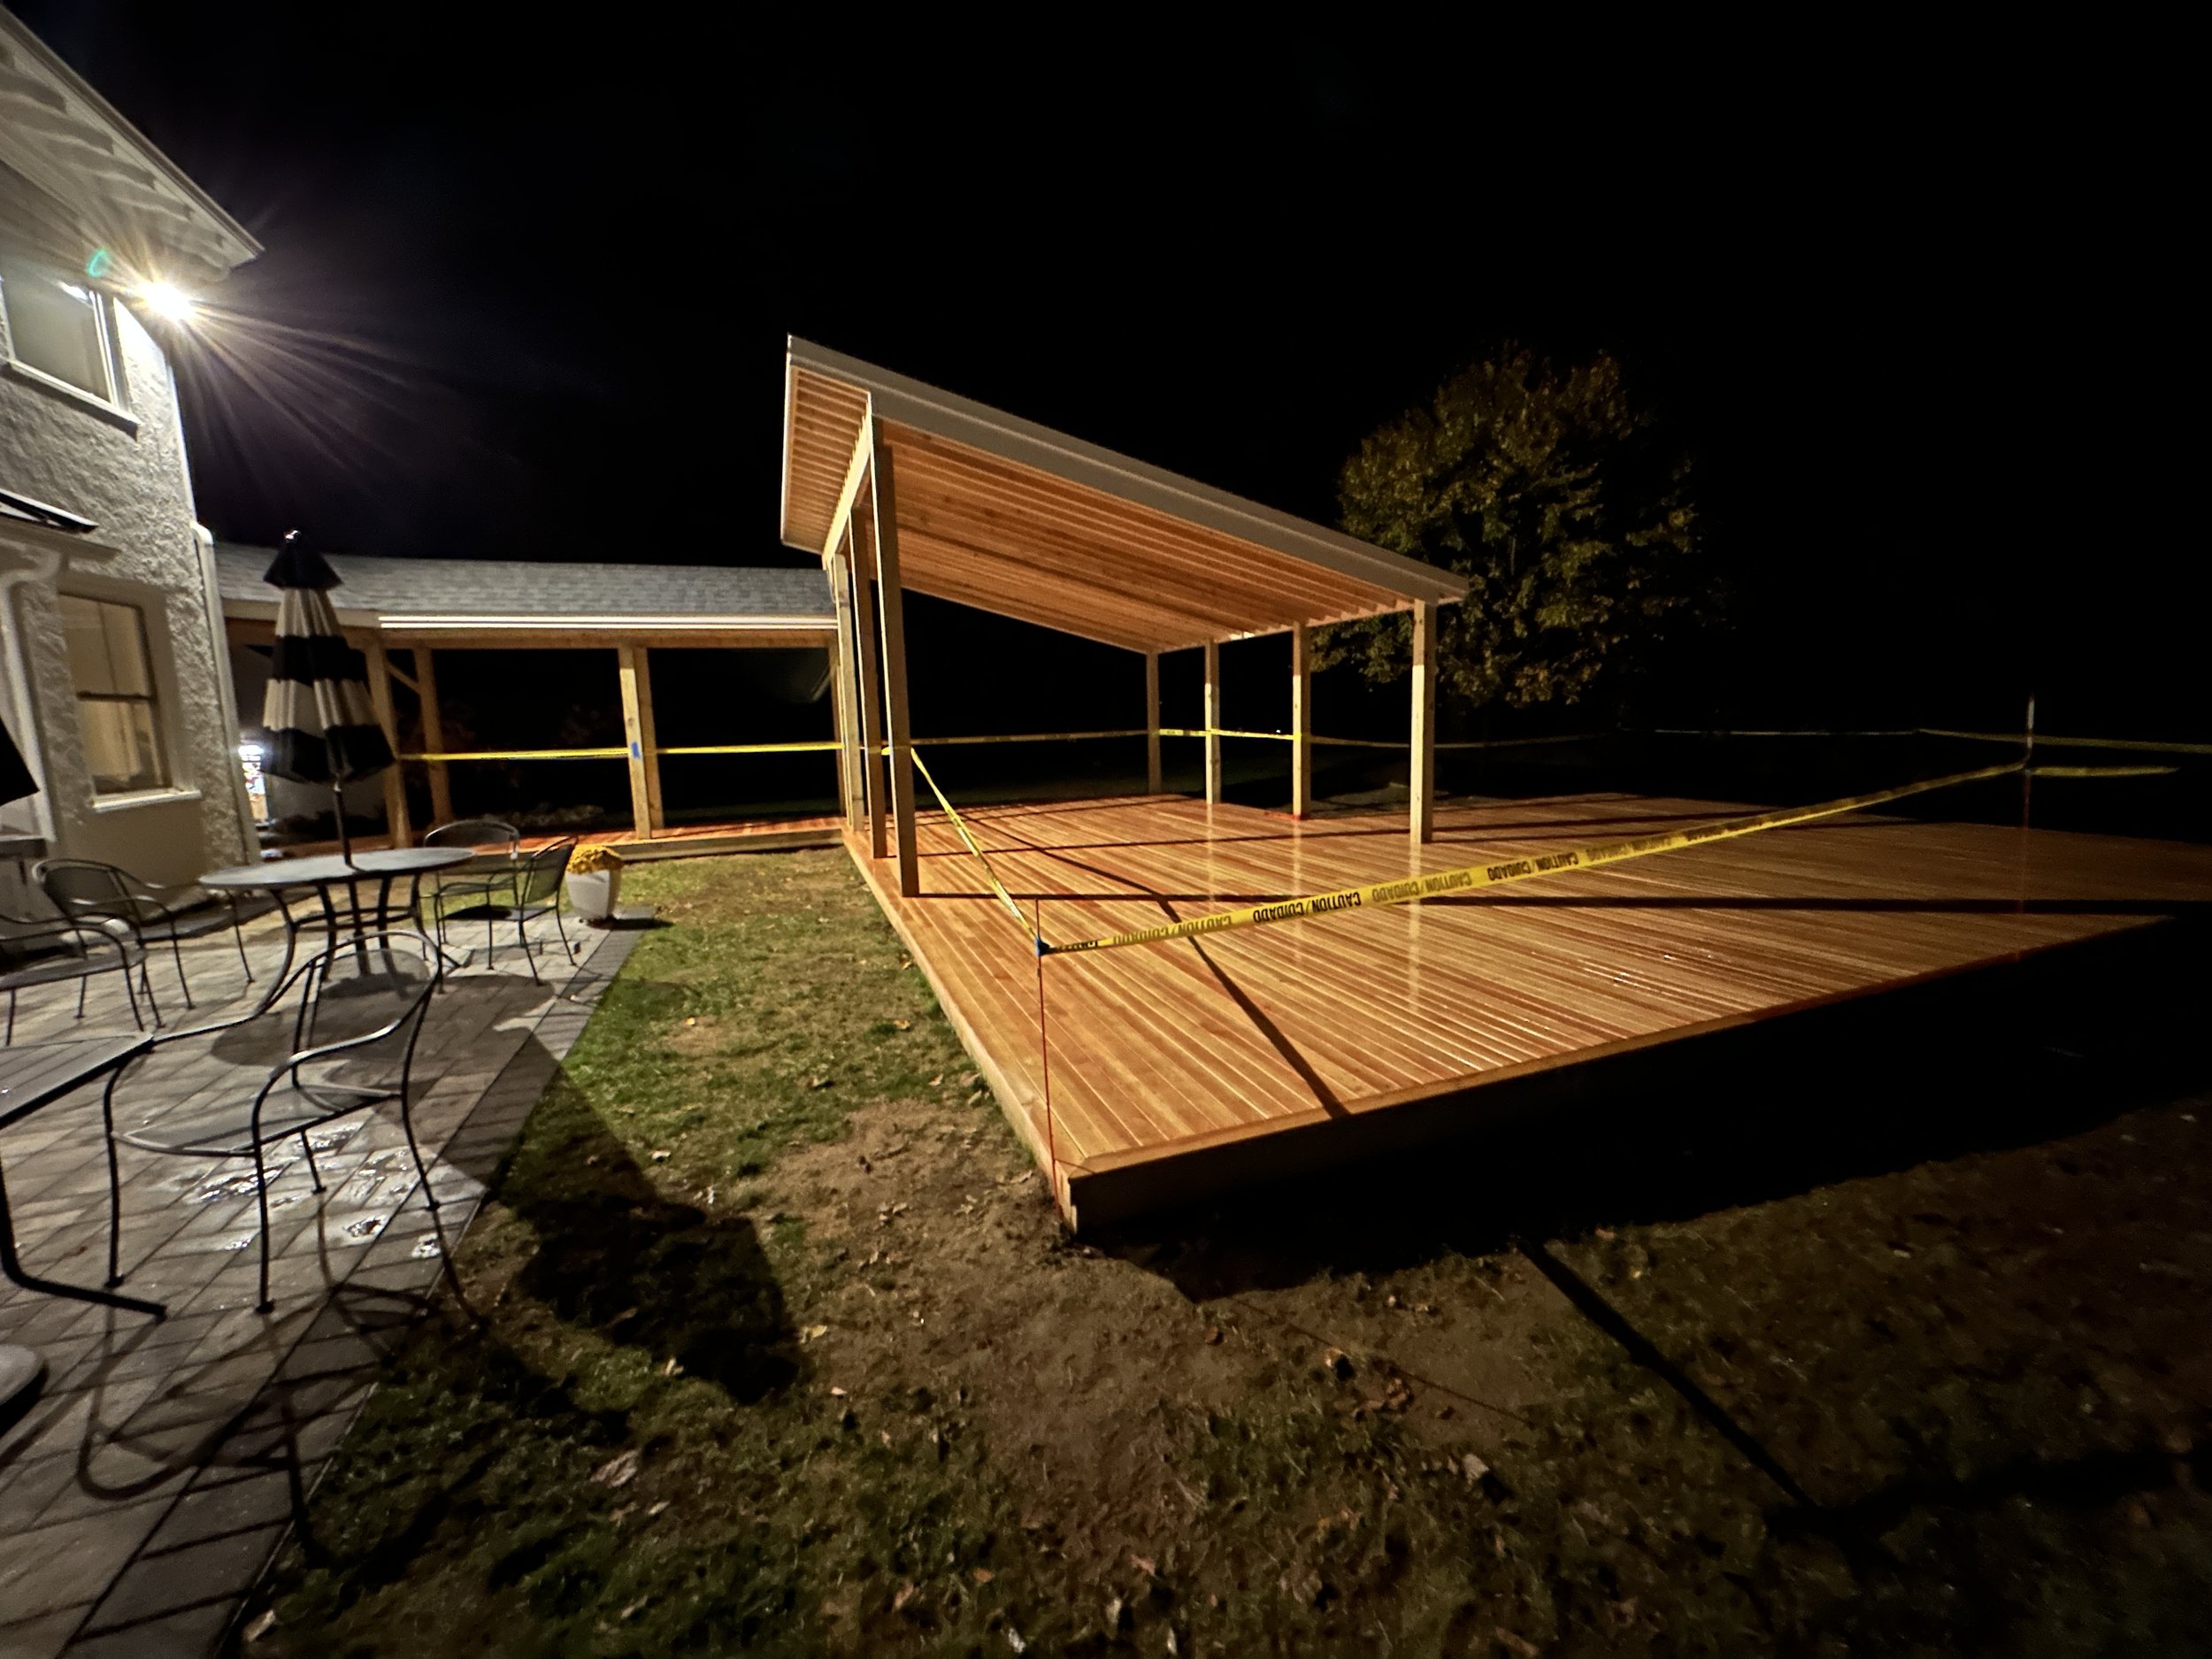
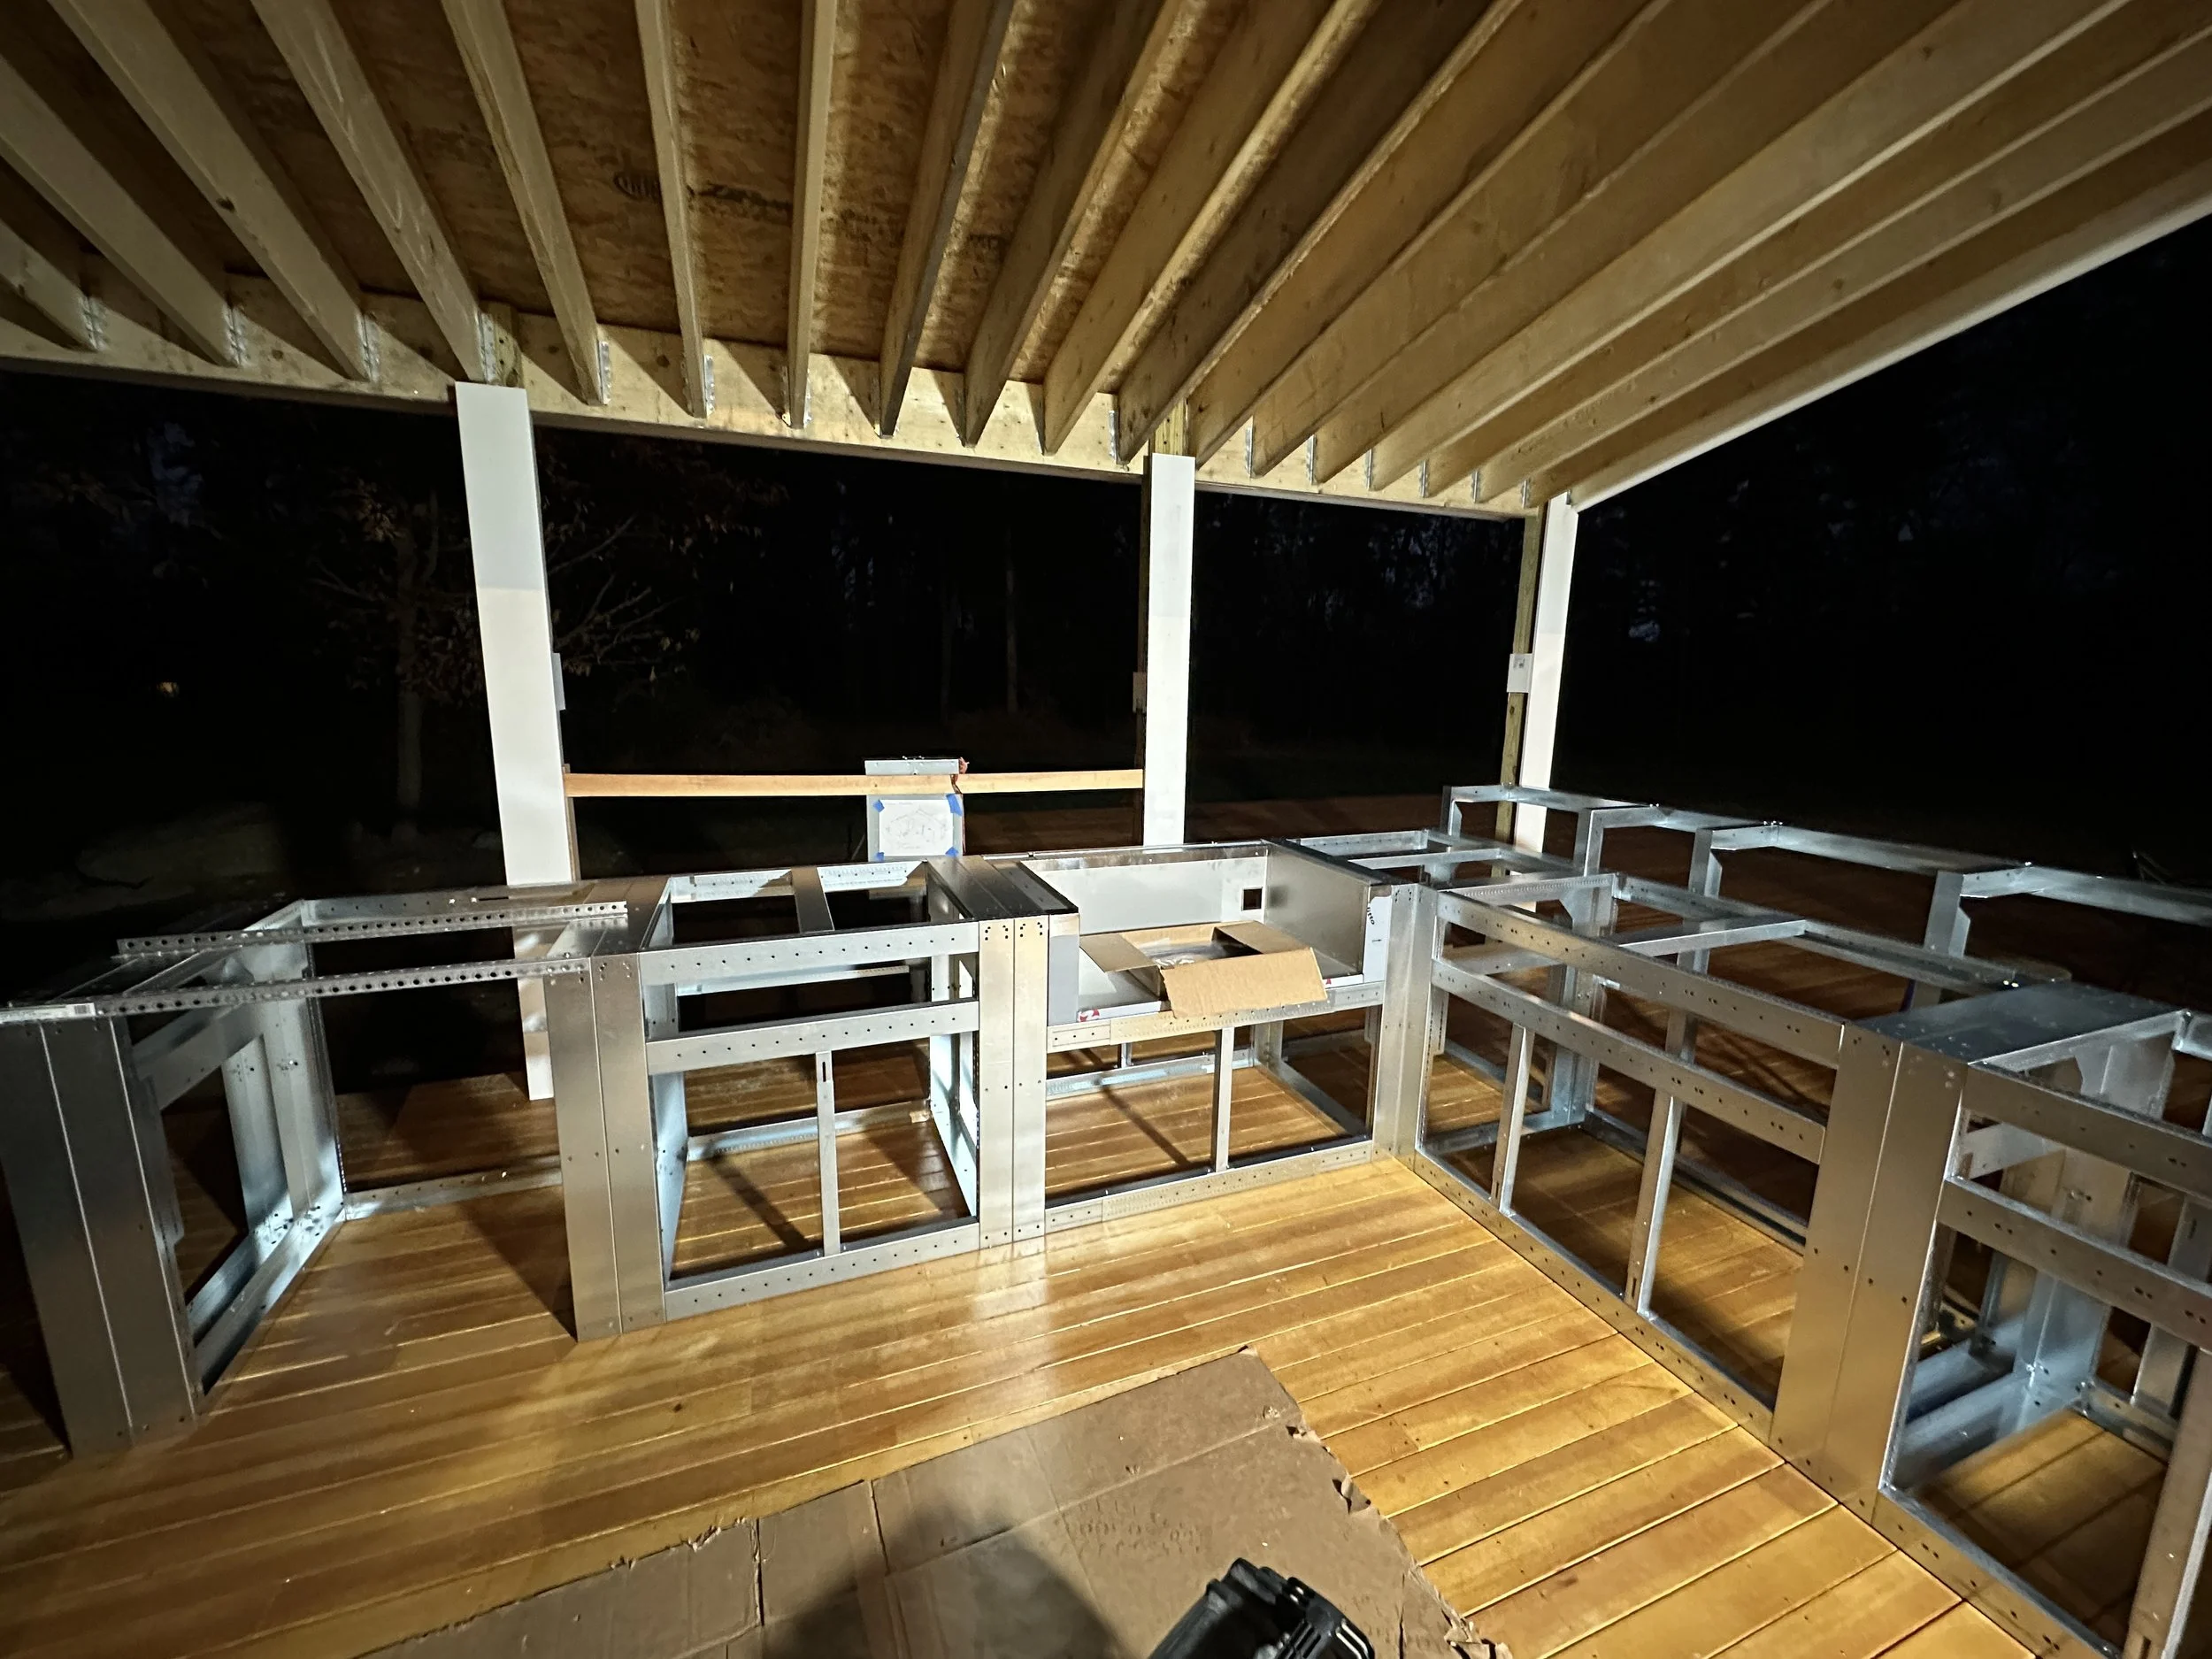
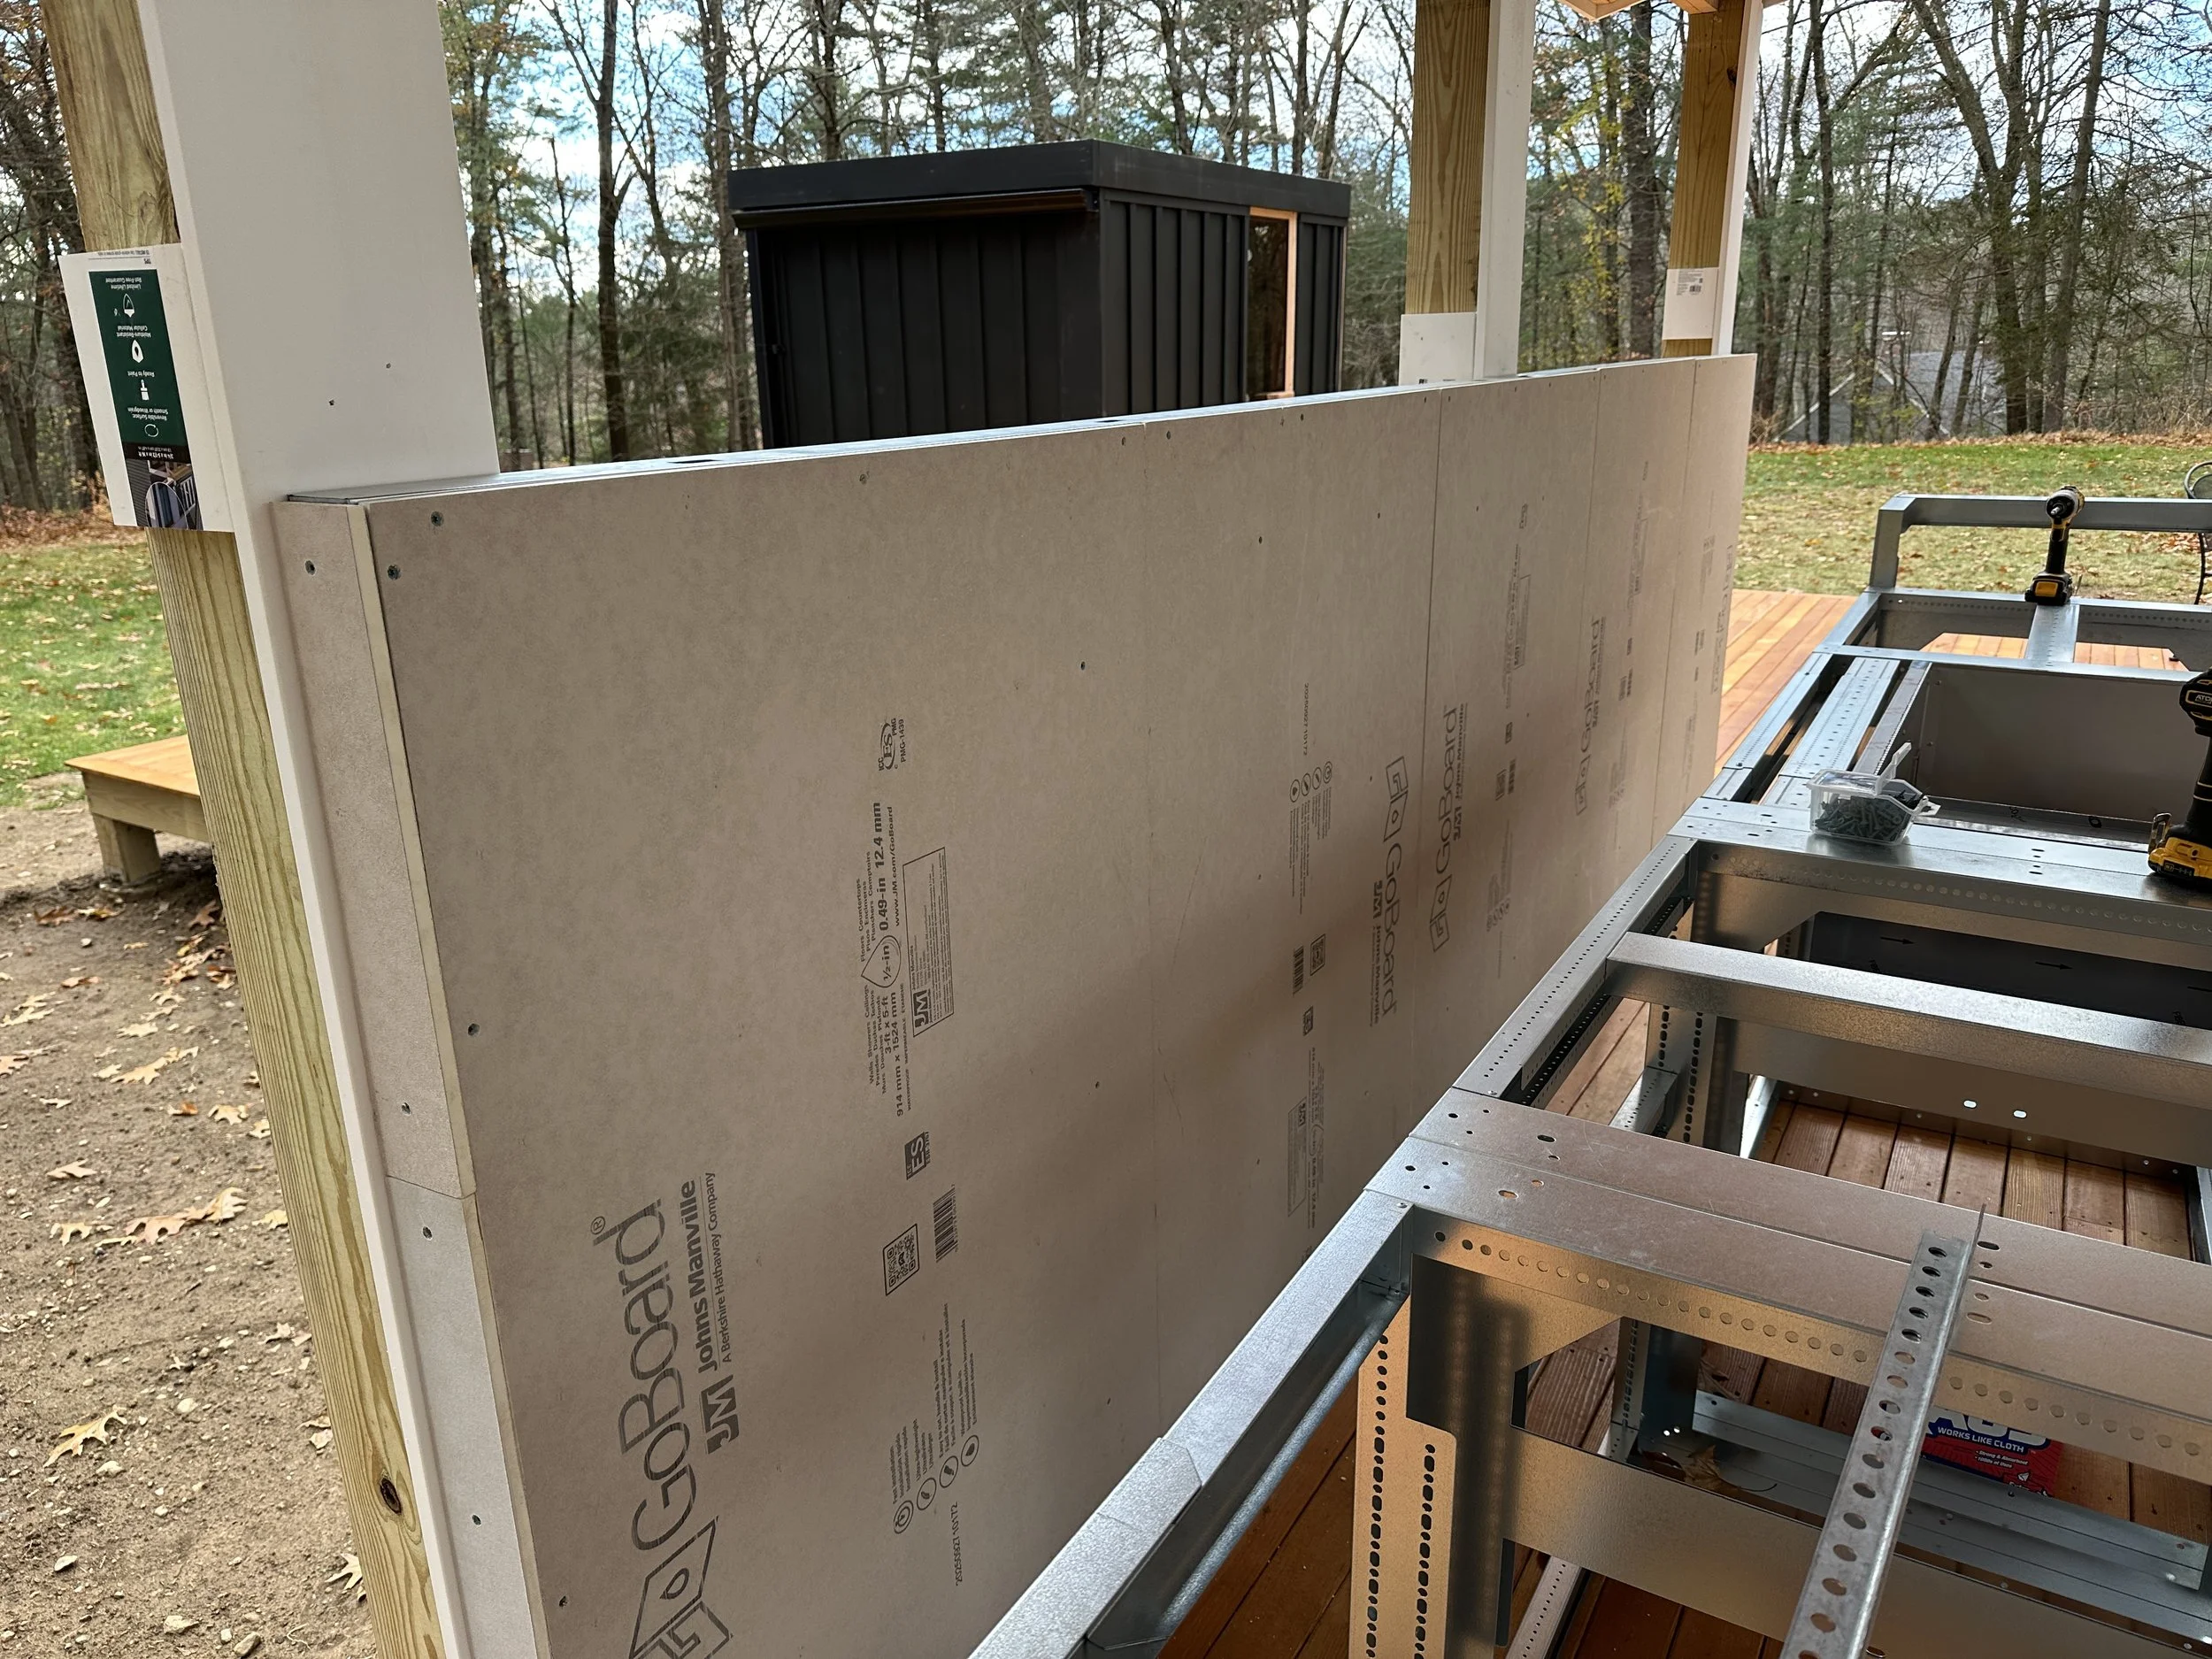
So we got busy on a design and footprint that would work both for sauna purposes and, in general, for all those other things we just mentioned, all the while to have it be extremely functional with the house and indoor/outdoor access (aka, the ultimate goal was to have something that could be used in various weather conditions) and for us, literally year round usage (we still grill typically in anything above freezing temps).
Flash forward to the fall season last year, deck design in hand and a note from New England Spa that the sauna would be ready for install in October. Deck construction got underway in late September or so, deck shell complete a few weeks later, and new power installed to feed the sauna and eventually to be relocated hot tub. Good to go and the rest was history!
A run through, from the beginning, of thePulp Deck Project pics below and adjacent to this. See you next week some new update pics!
Pulp Improvements
The 257 Project

Most Recent Pics for Sale


Nothing at All
A long time ago, in a small apartment in New York City, I was listening to a Prince song, simply called “7” and I was very much getting into the sound of the guitar playing, and what I perceived as an “open” chord strum, aka, just hitting those strings with no fingers applied (forgive me if that was mistaken). I tried to work that into something, and came up with a riff that I thought was pretty catchy. Not 100% sure what mood I was in at the time but decided that “you don’t need Nothing at All” was a good premise and ran with it. Years later, and also during the pandemic, decided it was a good time to rebuild it. Got busy with my wonderful musician friends and a new version it was.
Hope you enjoy!
Pulp Greenhouse
As we start getting back into the video making business for our projects, bringing this one back out as we do a run through our greatest hits to date! The Pulp Greenhouse really kicked off our jump into home improvement projects and gave us a great taste of all the various skills and trade work that is needed to bring these projects home. Enjoy!
The Ray Harm and Guy Coheleach Limited Edition Prints Prints
We recently mentioned that we had been gifted a fine collection of Ray Harm and Guy Coheleach “limited edition” art prints which we intend to eventually sell here from the website (will be setting up a page in our shop collection). Currently doing a complete inventory of what we have and documenting all of that. Wanted to share a little taste of what we are talking about so will feature a pic or two each week until we get that shop page up and running. This week’s sample print below!

Mourning Dove
